Course
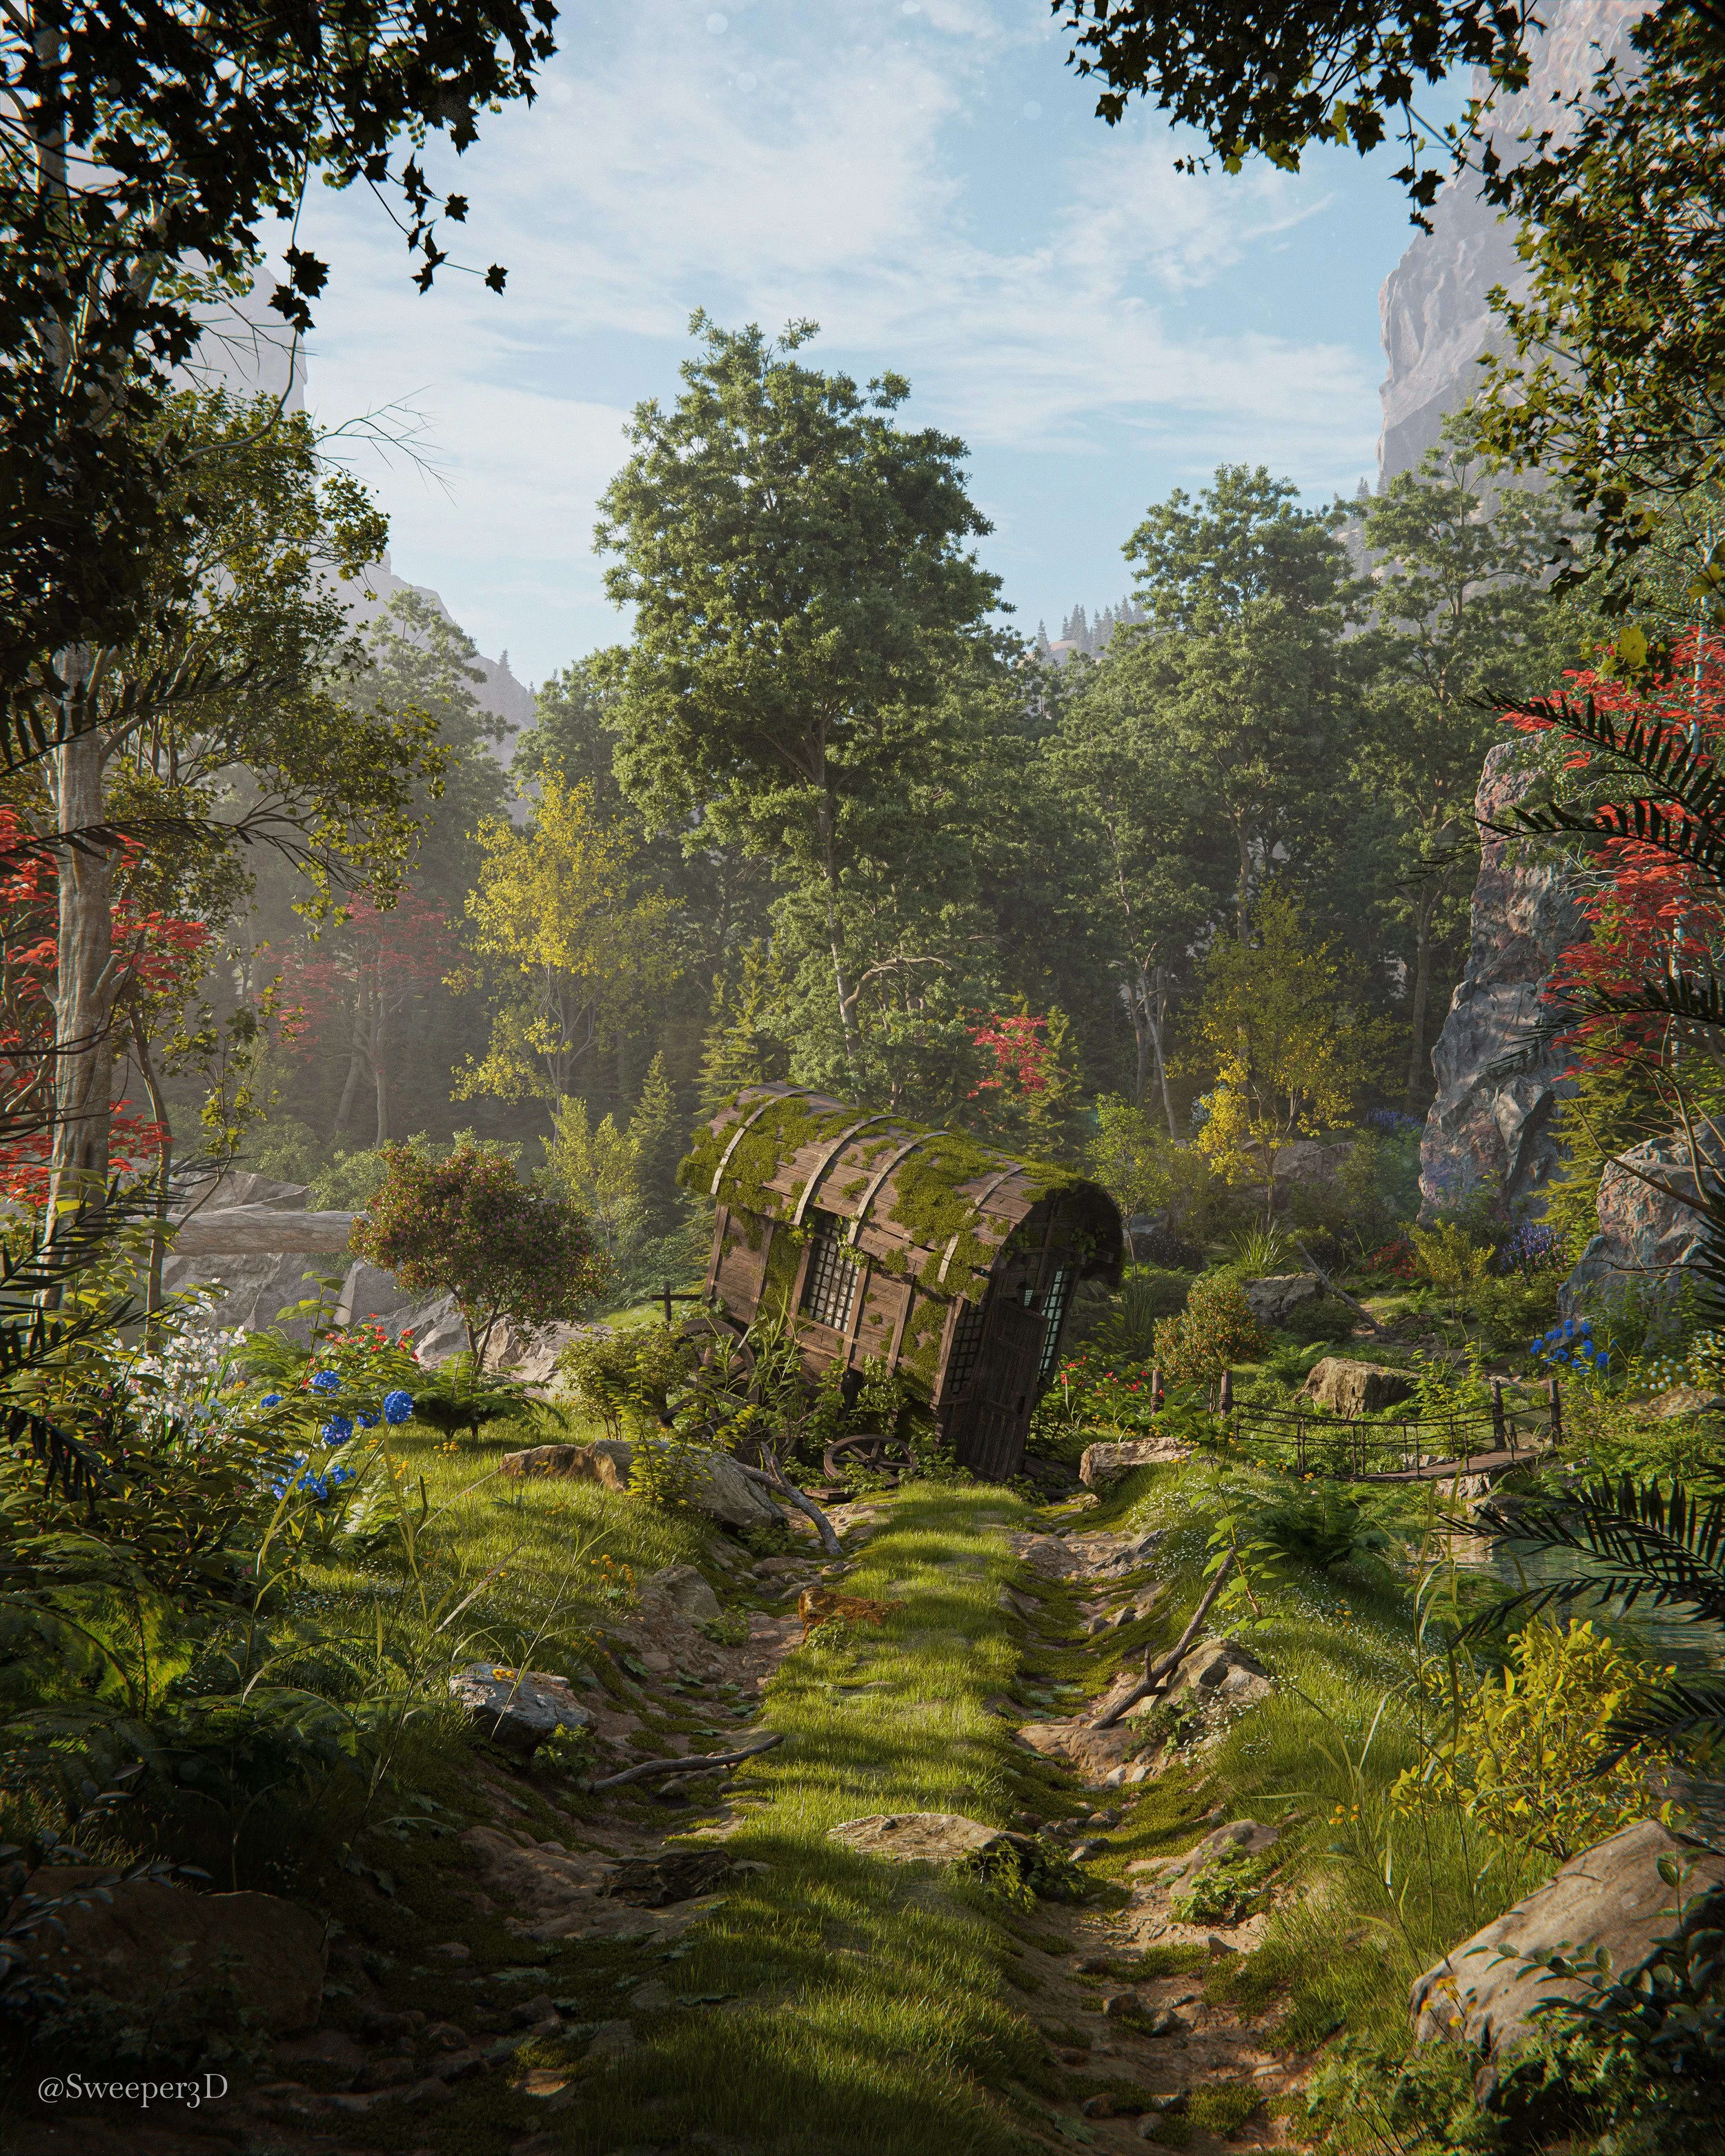
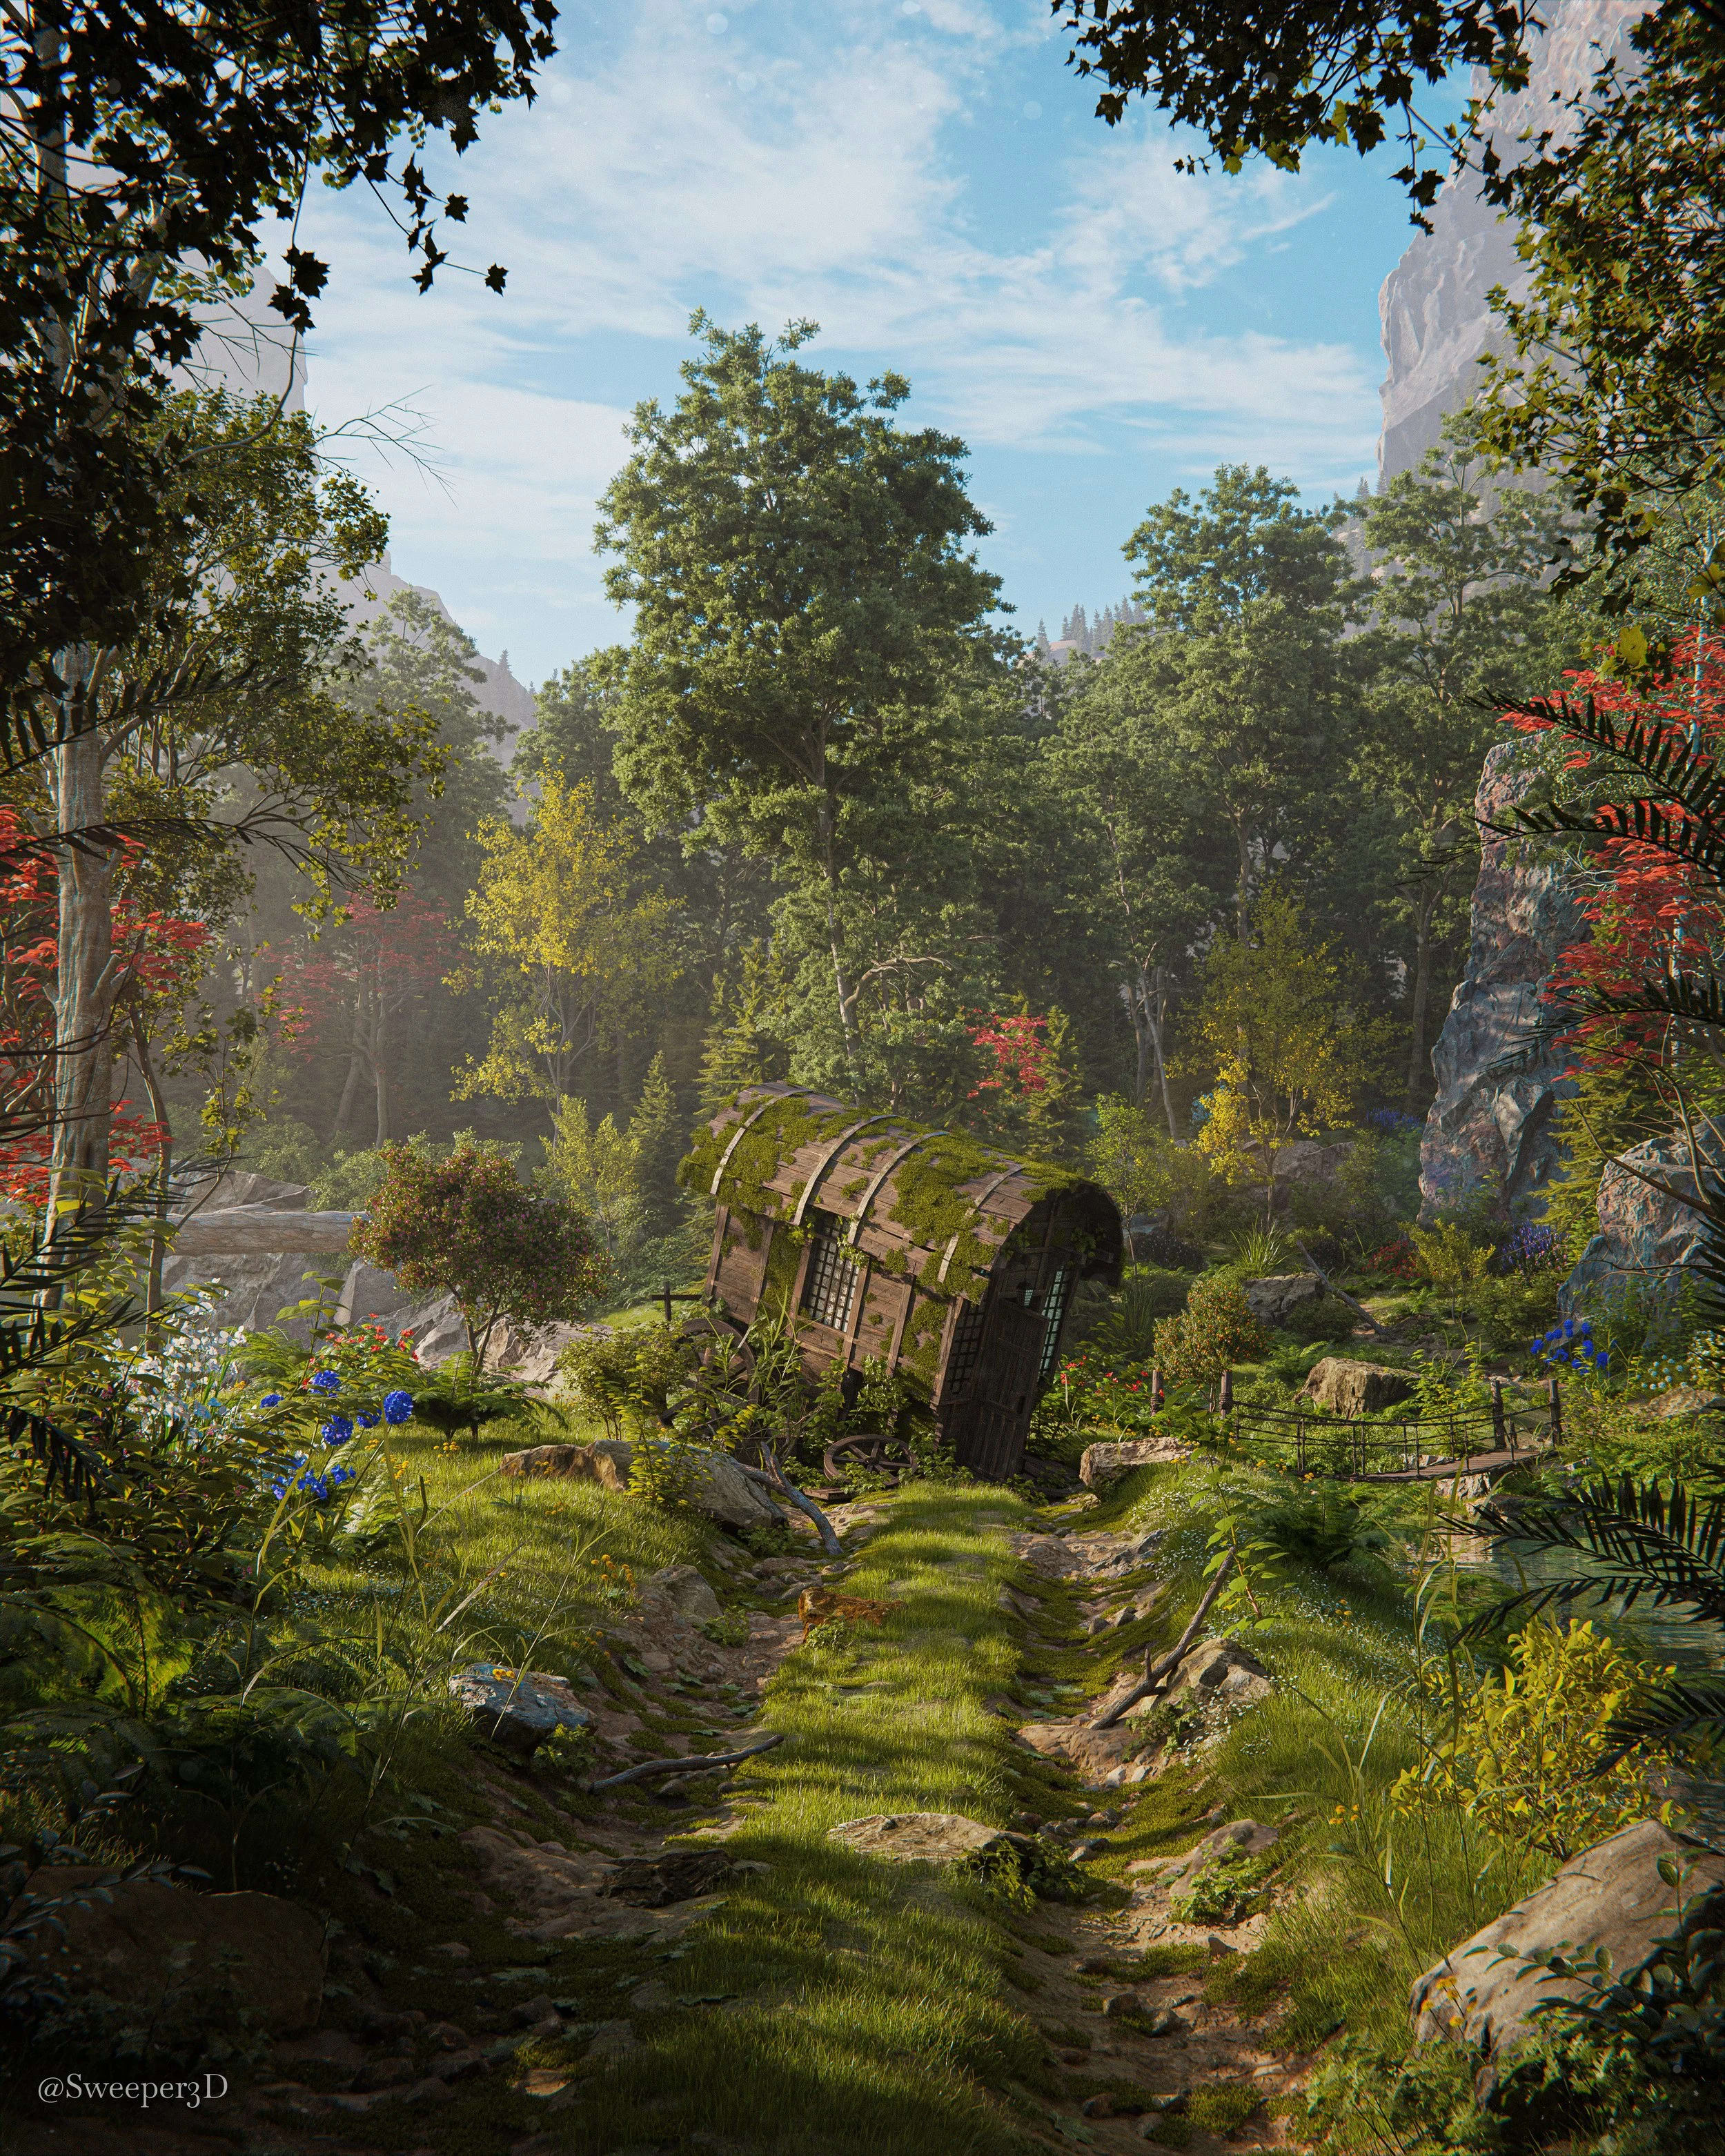
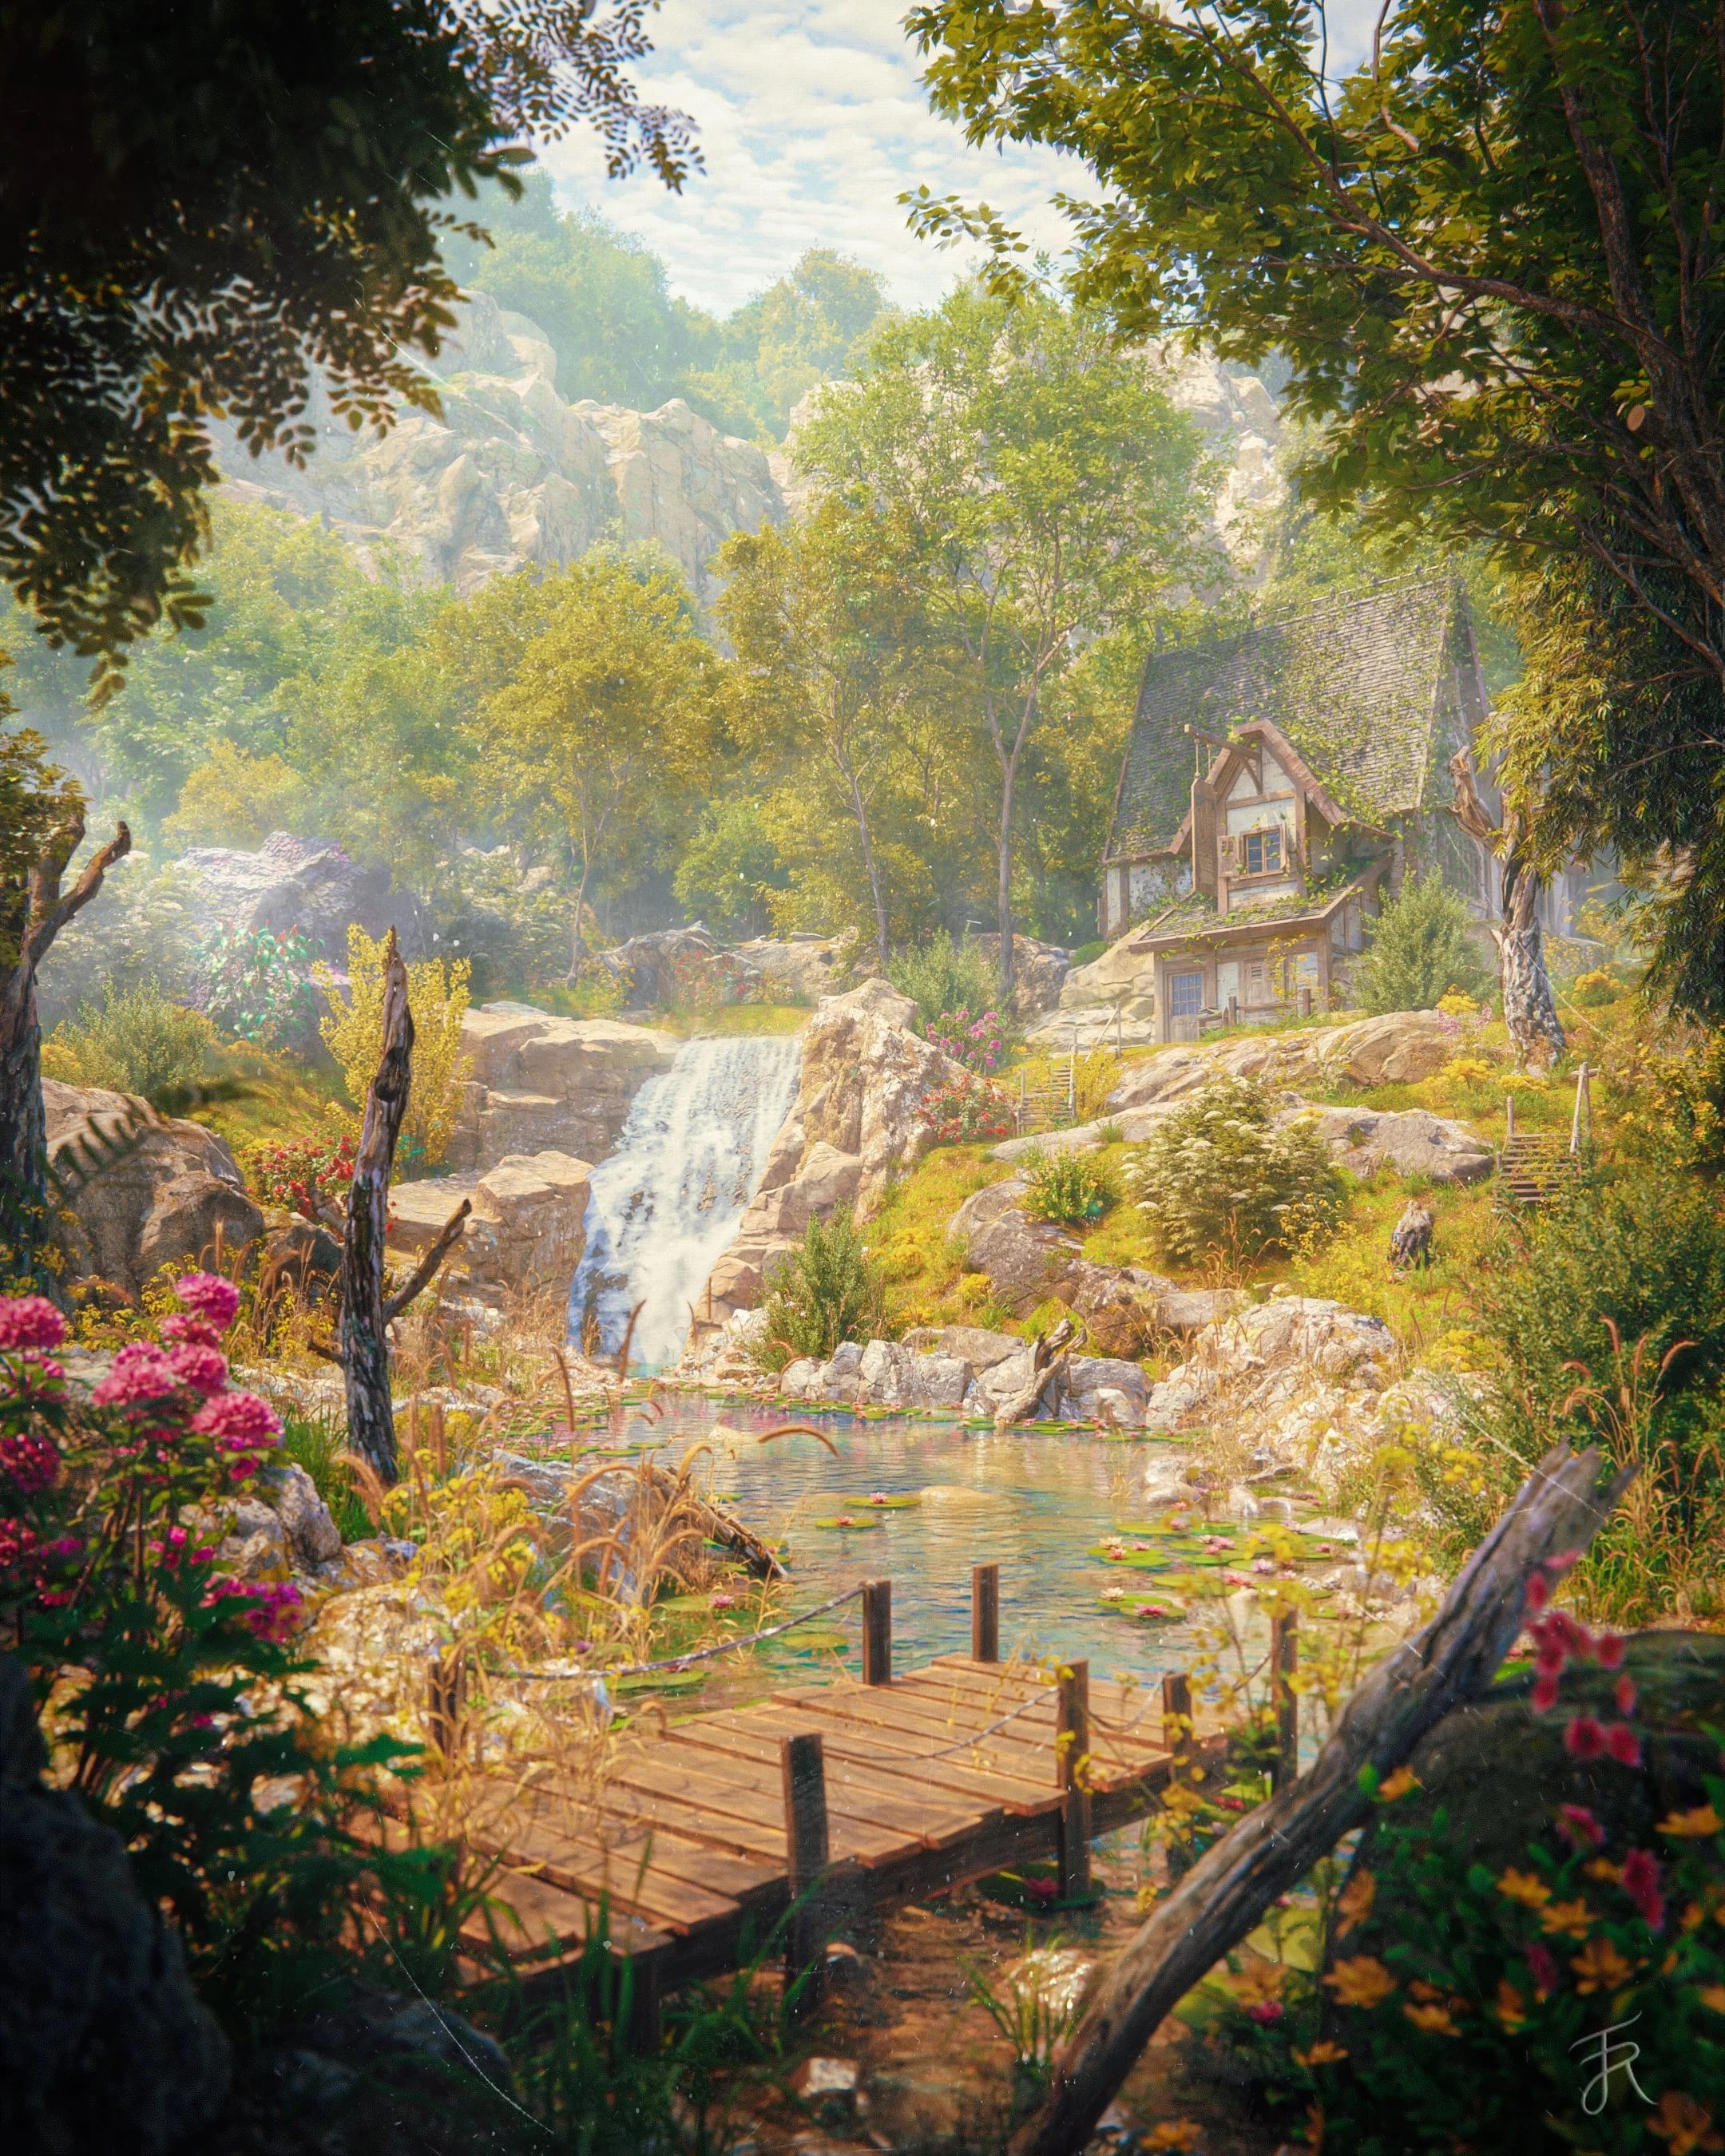
The Lost Wagon - Full Blender Course
This course guides you through the entire process of creating this render from start to finish, with all assets and tools included so that you can learn to create beautiful environments just like this one, on your own.
One-time purchase · Lifetime access
- 10+ Hours
- 8 Chapters
- Project files Included
- 300+ Assets
Course summary
This course guides you through the entire process of creating this render from start to finish, with all assets and tools included so that you can learn to create beautiful environments just like this one, on your own.
10+ hours of step by step real-time guidance covering my entire workflow from start to finish. This comes with project files for every section, so if you get stuck or want to analyze exactly how they are set up, you are free to do so.
This course is focused on scene building and teaches everything you need to know about environment creation, there is no modeling involved for this course.
What to expect
- Meant for people who are comfortable navigating Blender and know the basics. The course opens with fundamentals, then I narrate the full process and explain what I click and why along the way.
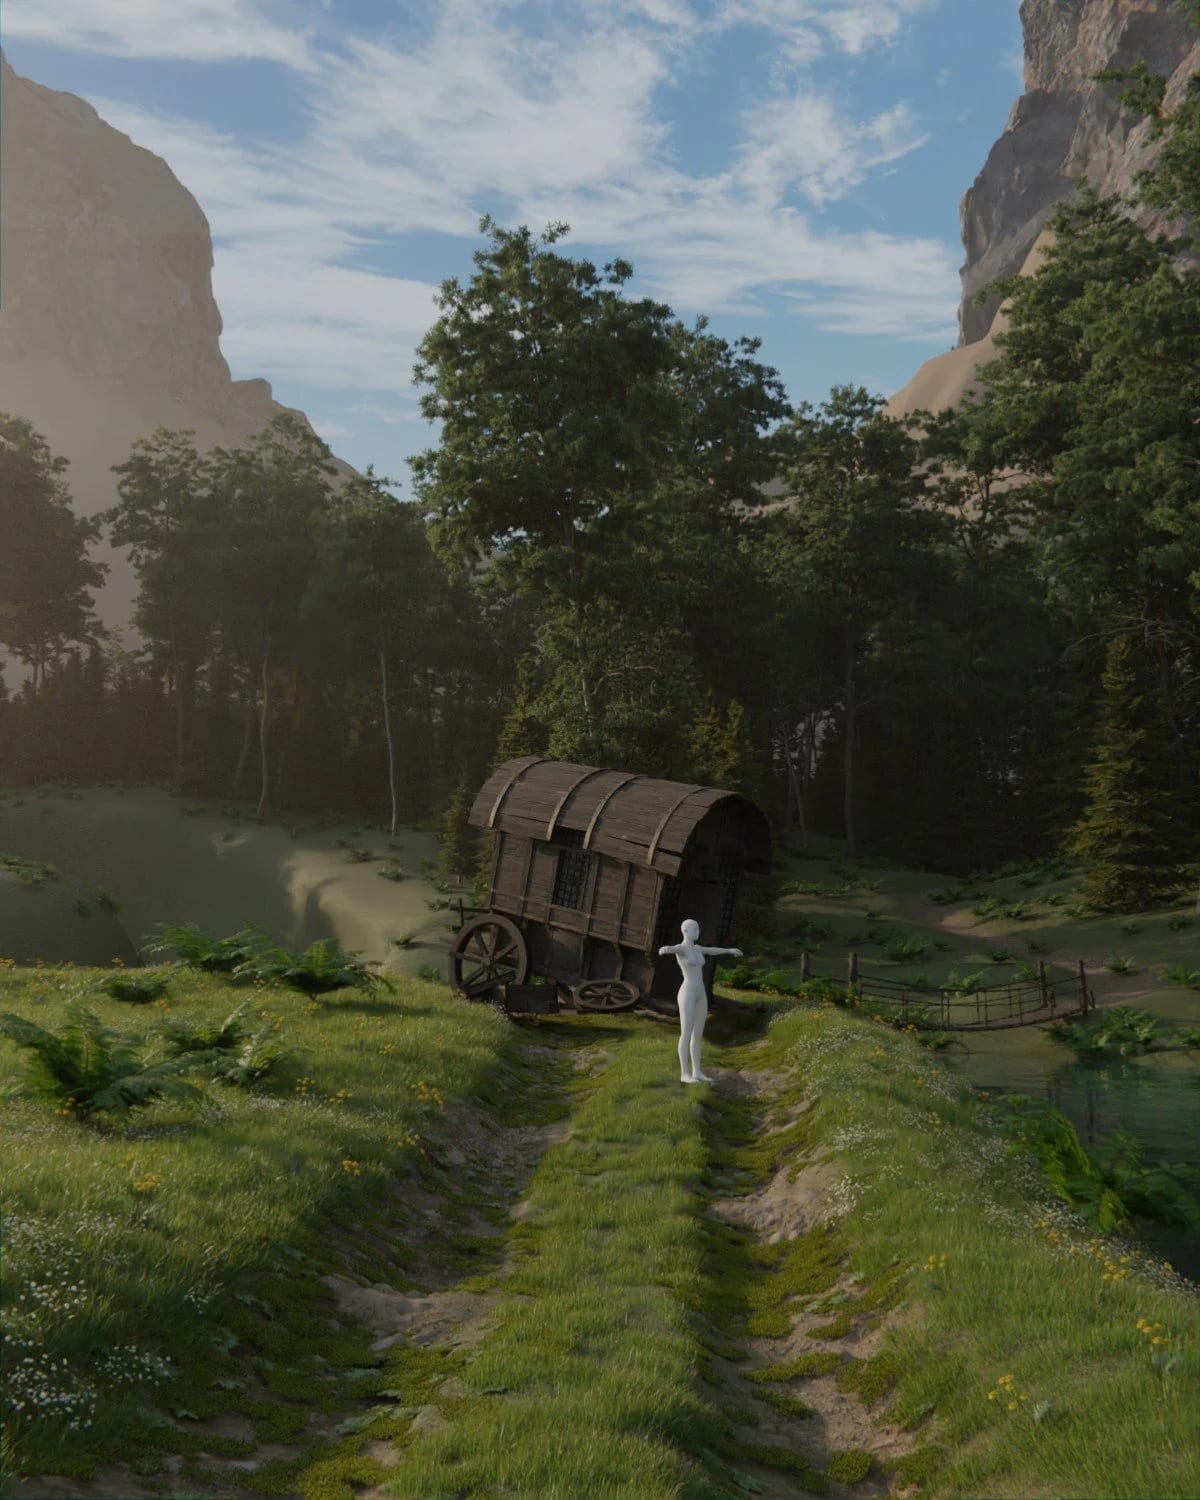
- Full scene building workflow: Blockout, Sculpting, Composition, Scattering, Detailing, Lighting, Rendering, Post Processing. focused on environments, no modeling in this course.
- Full scene is created in Blender, then post processed in Photoshop.
- 300+ included assets plus project files for every chapter.
- Prerecorded videos: learn at your own pace, pause when you want, and revisit chapters whenever you like.
- One-time purchase · Lifetime access · 30-day money-back guarantee.
Course Overview
-
Chapter 1 - Fundamentals
Here we cover all of the basics such as my workspace, shortcuts, Ideas and inspiration, setting up the asset browser and so on.
-
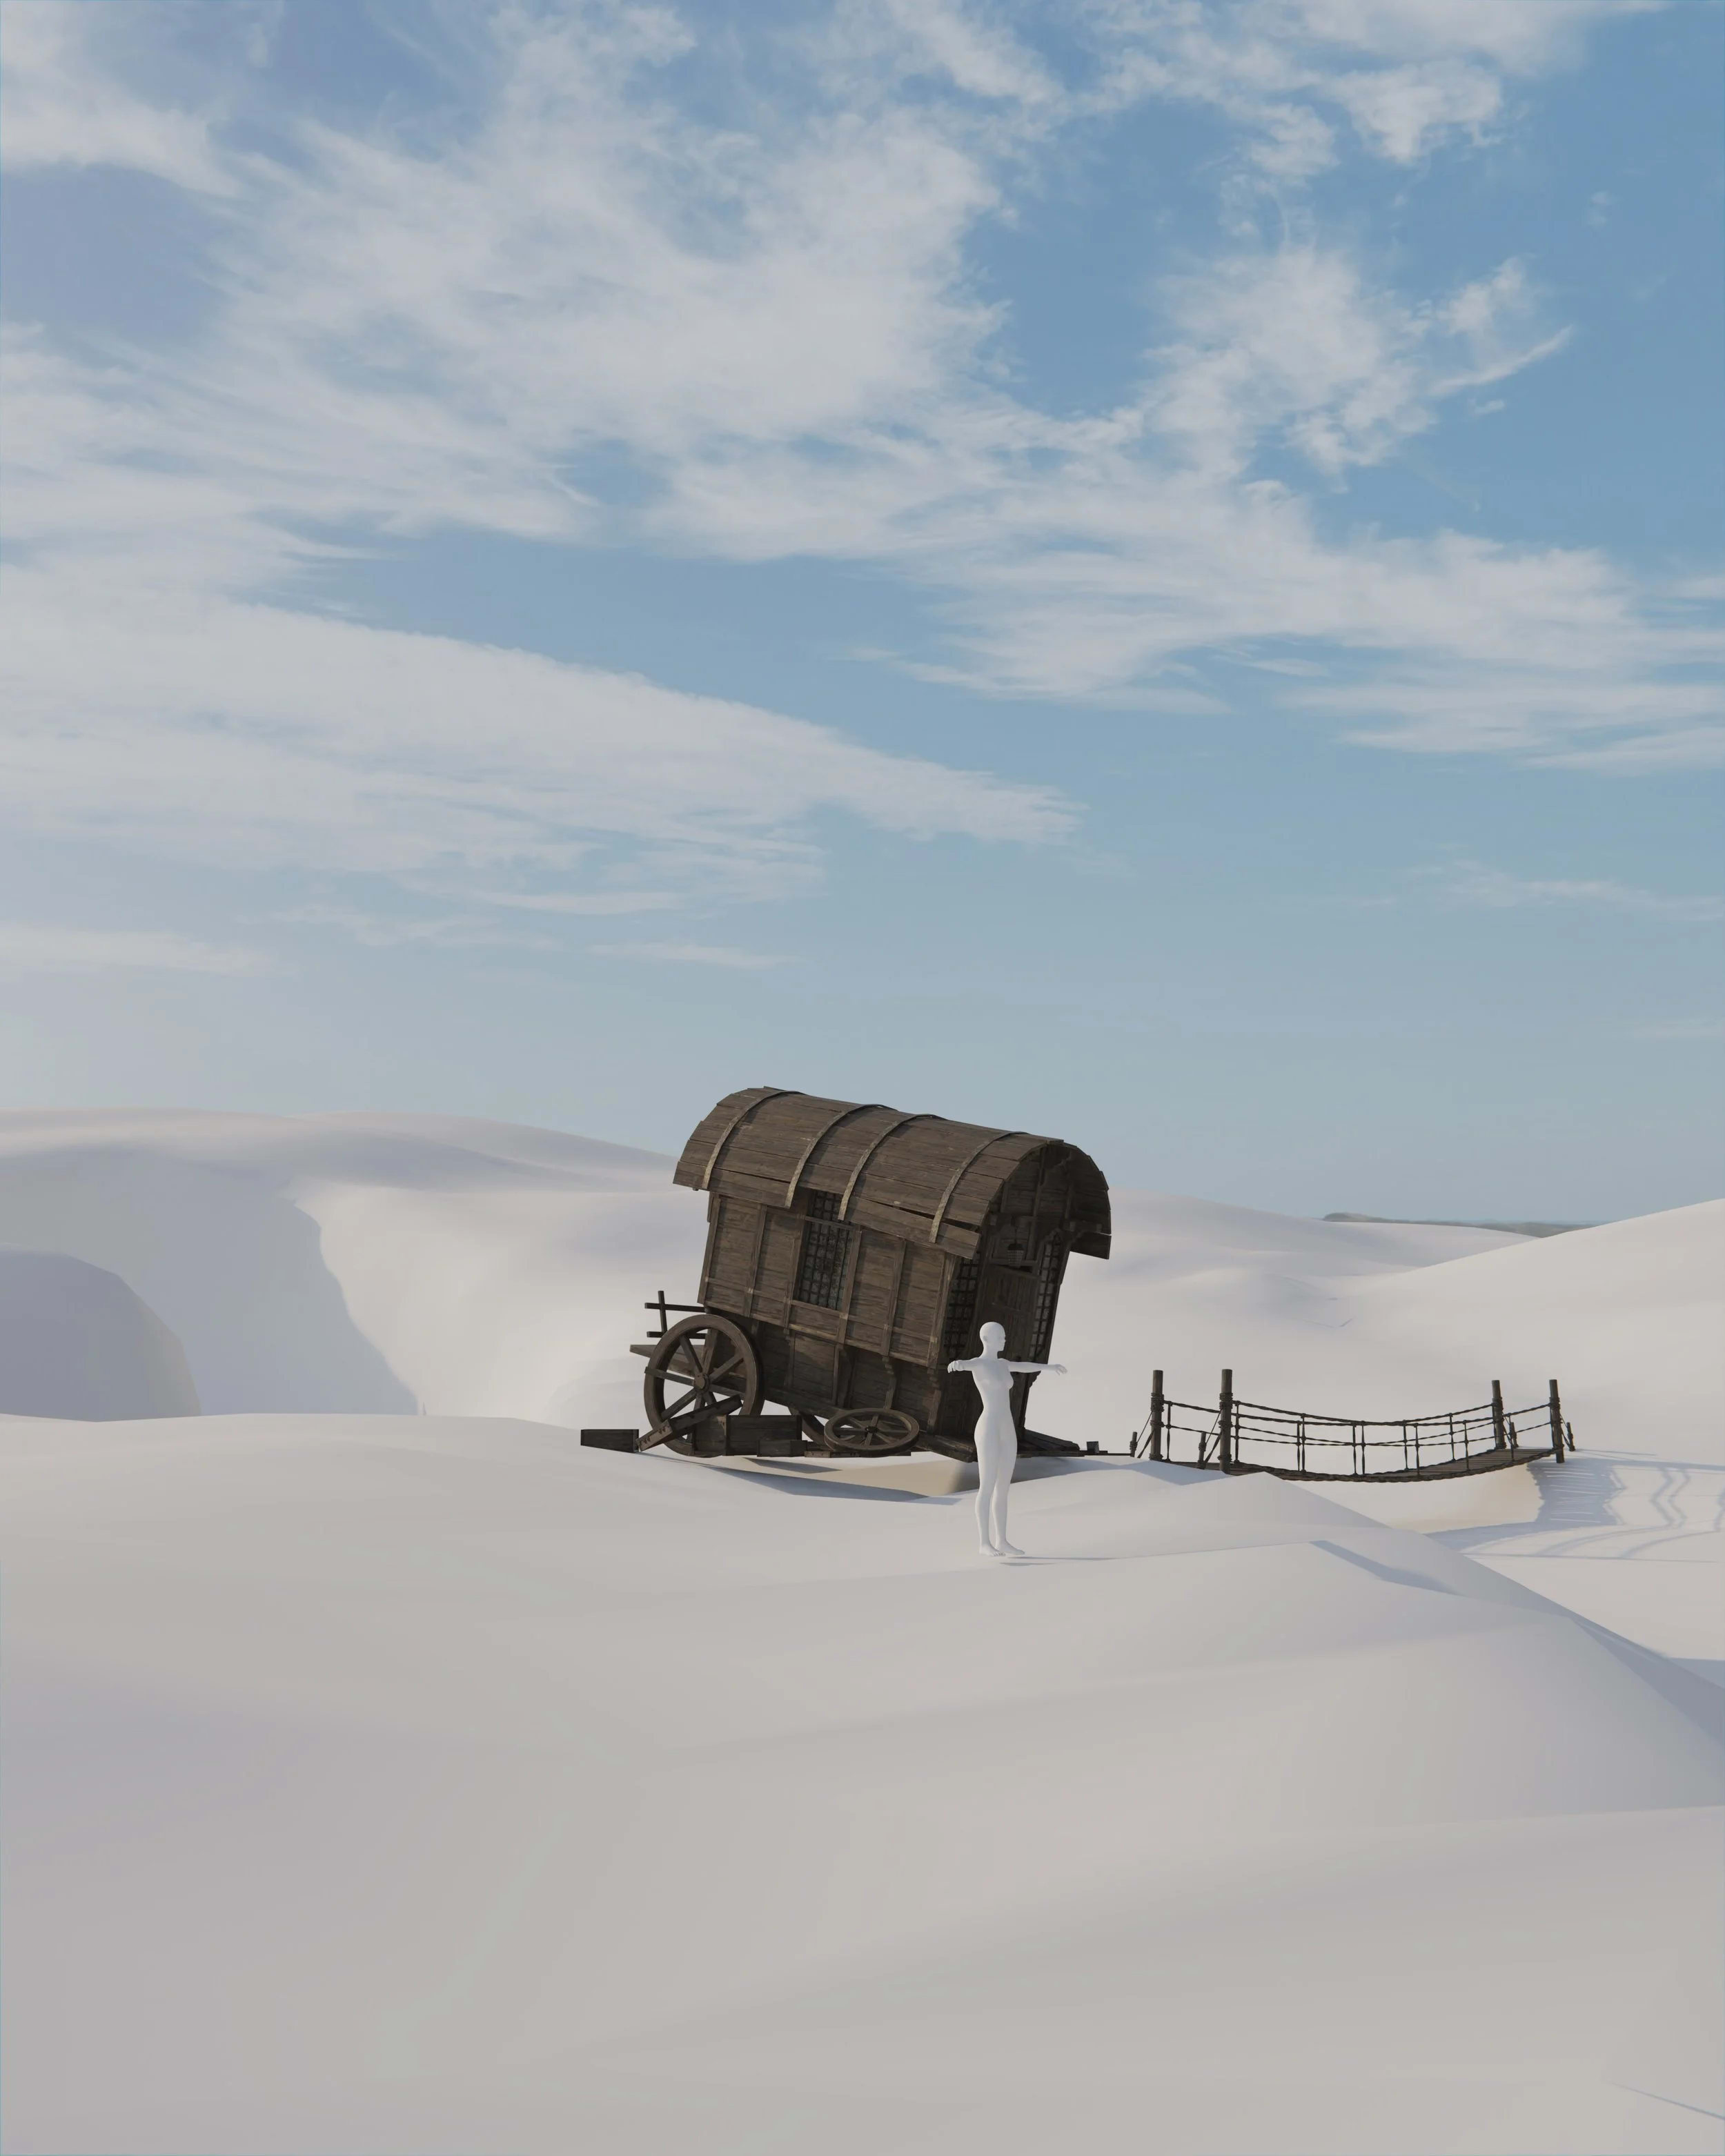
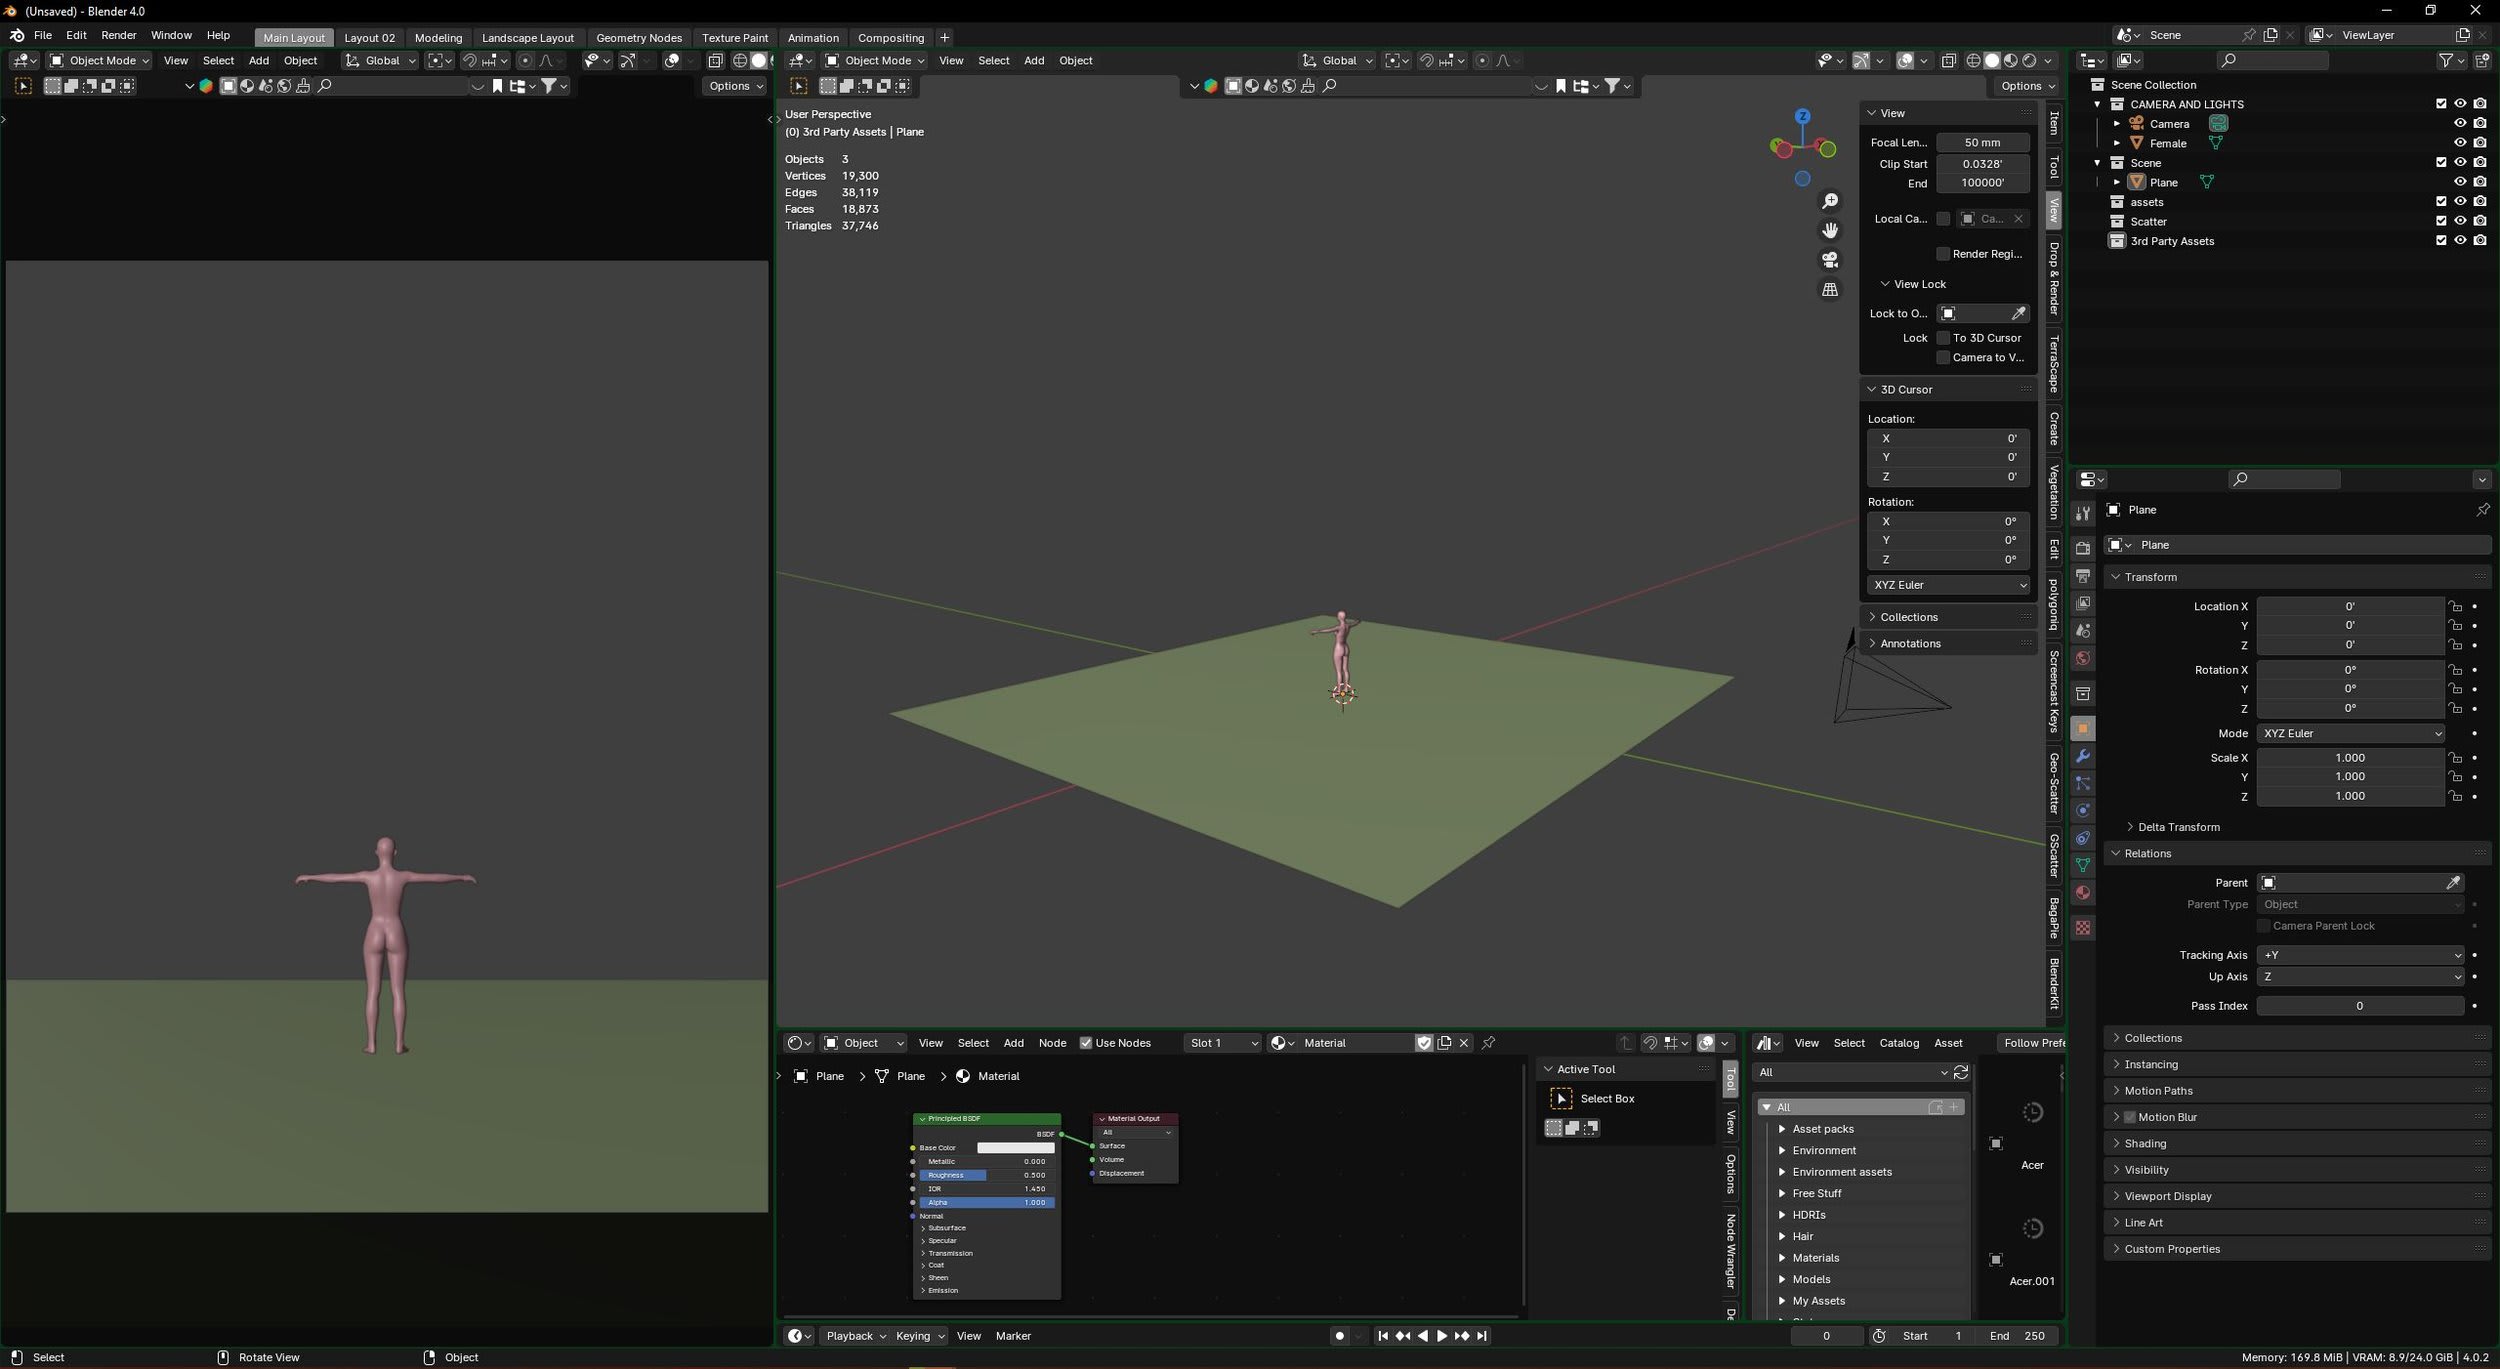
Chapter 2 - Starting The Environment
Here we actually begin our Blender environment. we go over setting up the scene by importing our assets, sculpting the base landscape, setting up the early Lighting set up as well as the sky.
-
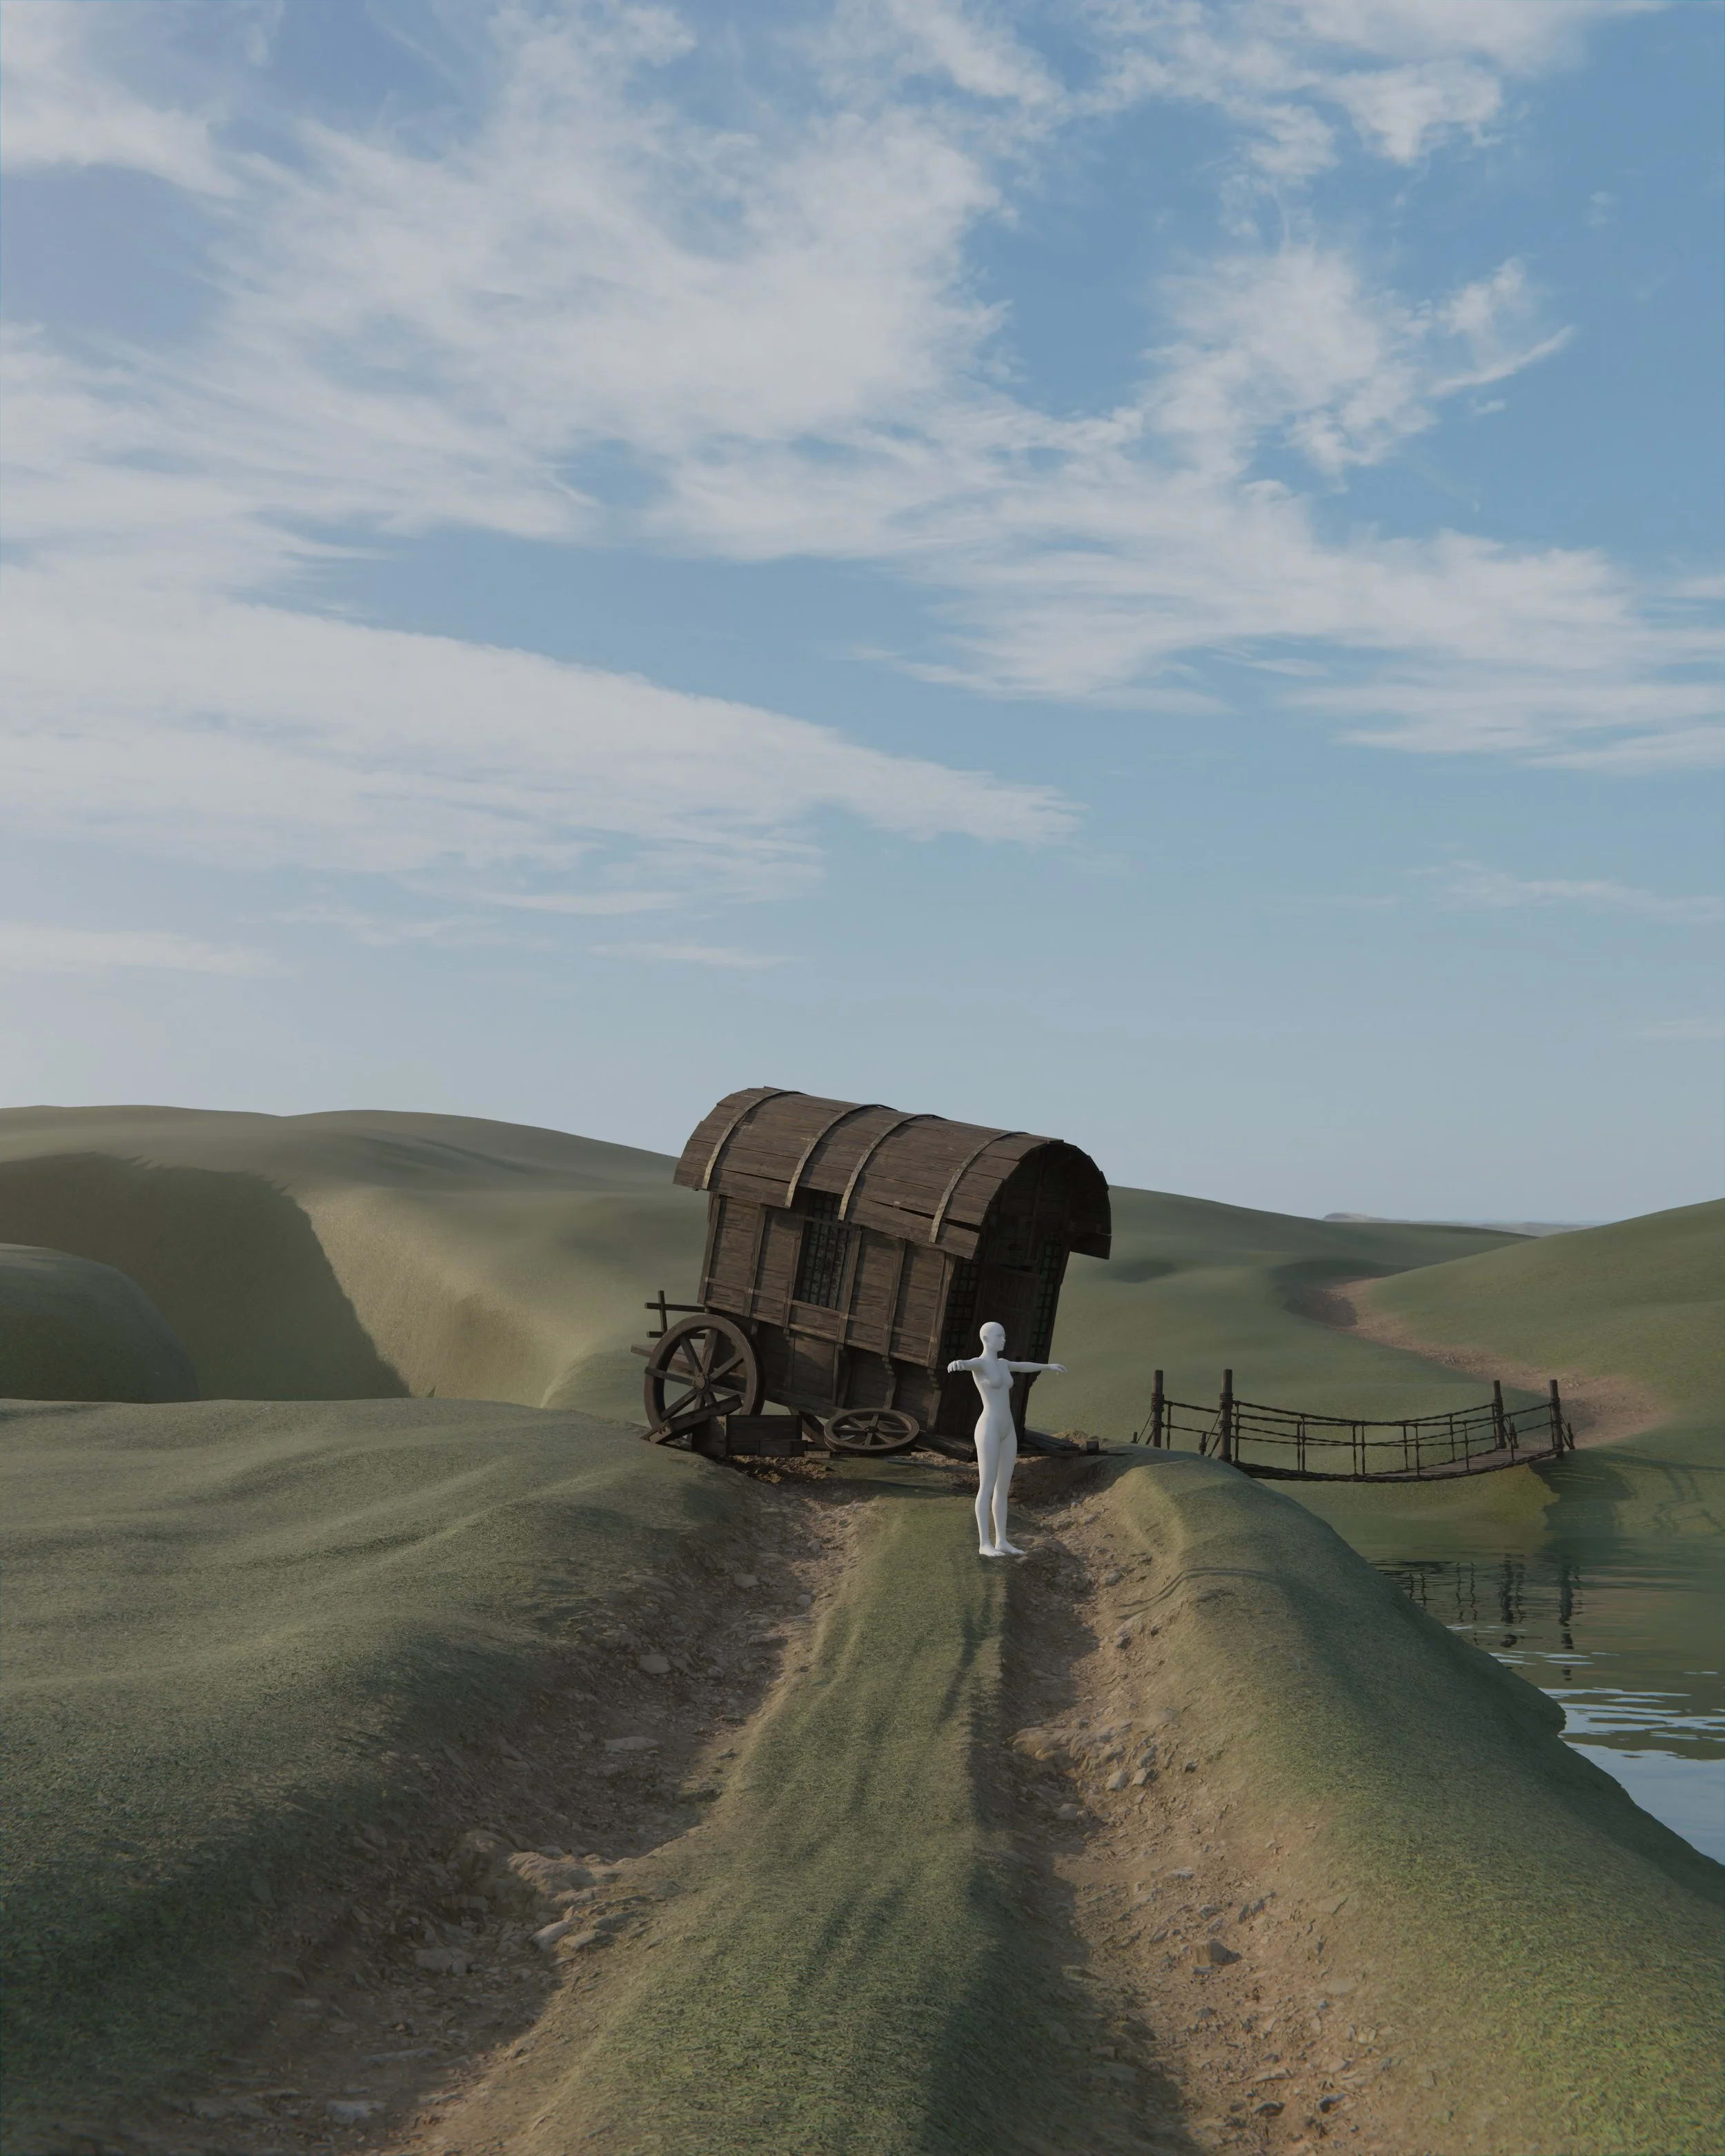
Chapter 3 - Materials
After setting up the base environment it is time to move on to materials. This is where we cover texture painting the paths, adding displacement and creating a water shader.
-
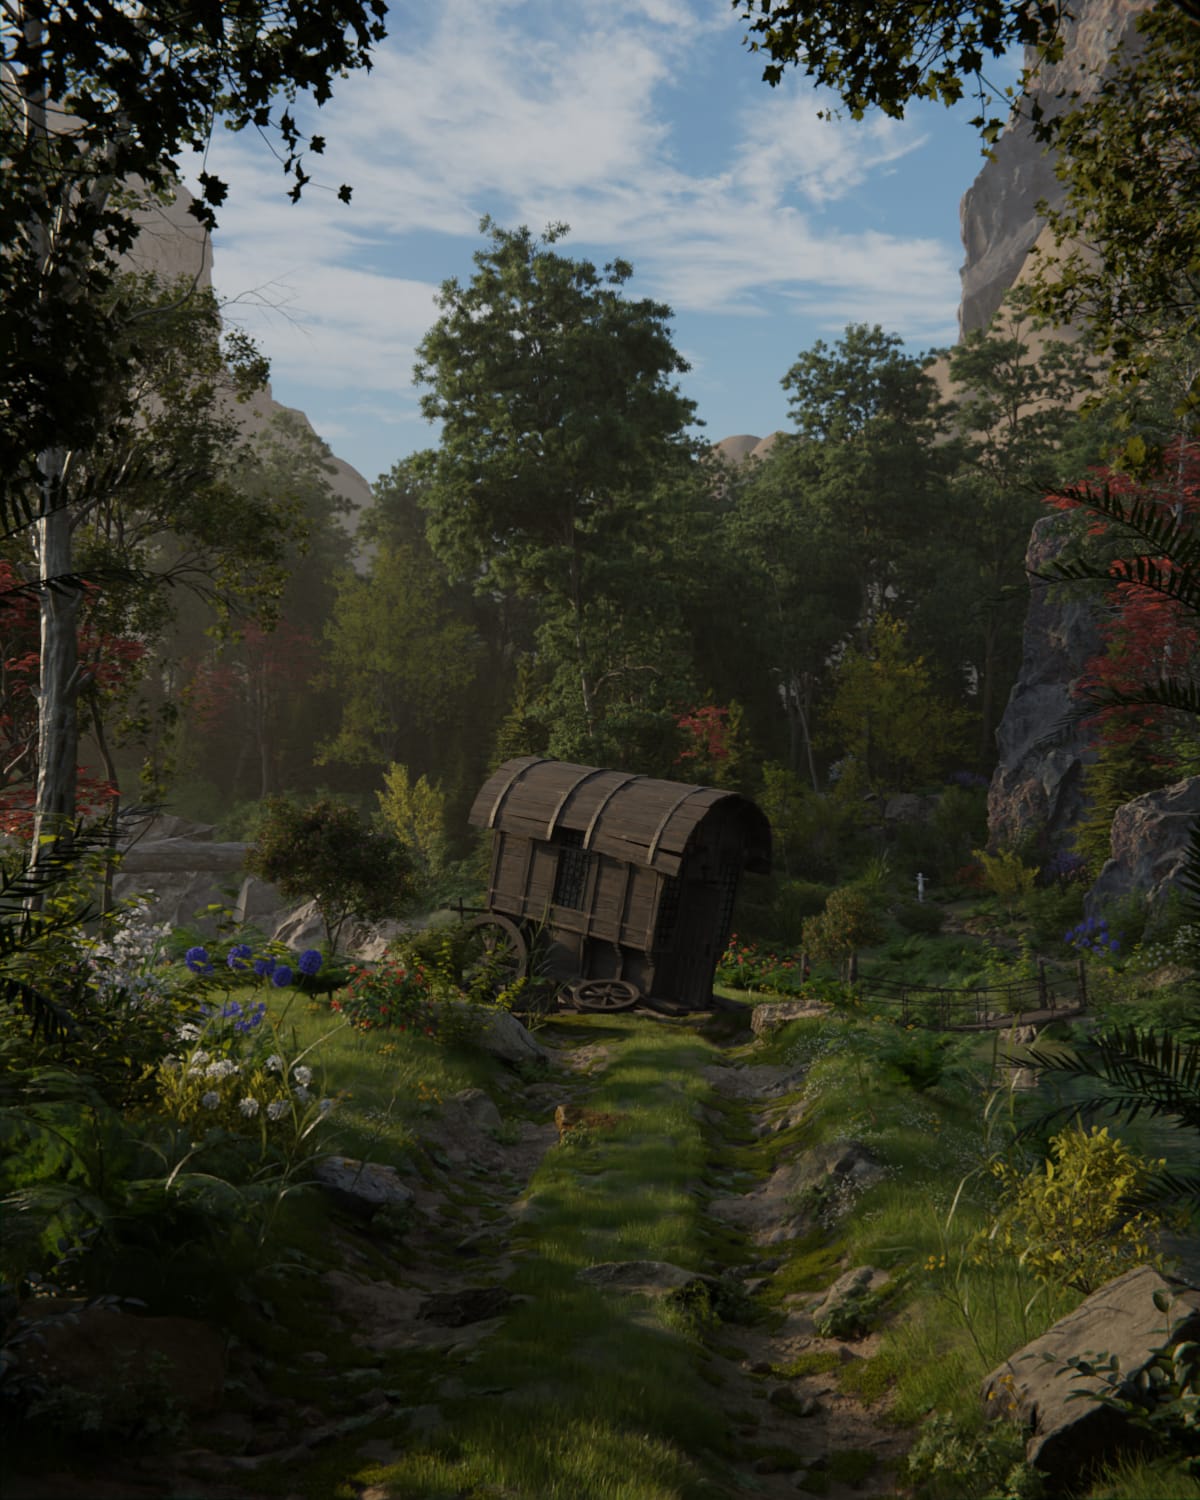
Chapter 4 - Early Details
Once we have the materials, it is time to move on to adding some scatter systems and some background Hills and cliffs
-

Chapter 5 - Detailing the Foreground
This is where we start hand placing details and making the foreground look nice. I show you how I use light absorption techniques to darken my foregrounds, detailing the path, and adding various of other foreground details like plants, flowers, shrubs, and the framing of the shot.
-
Chapter 6 - Detailing the Background
Now that the foreground has been worked on we can do the same for the background. Here we add riverside cliffs, and other hand placed plants and trees through out the background section.
-
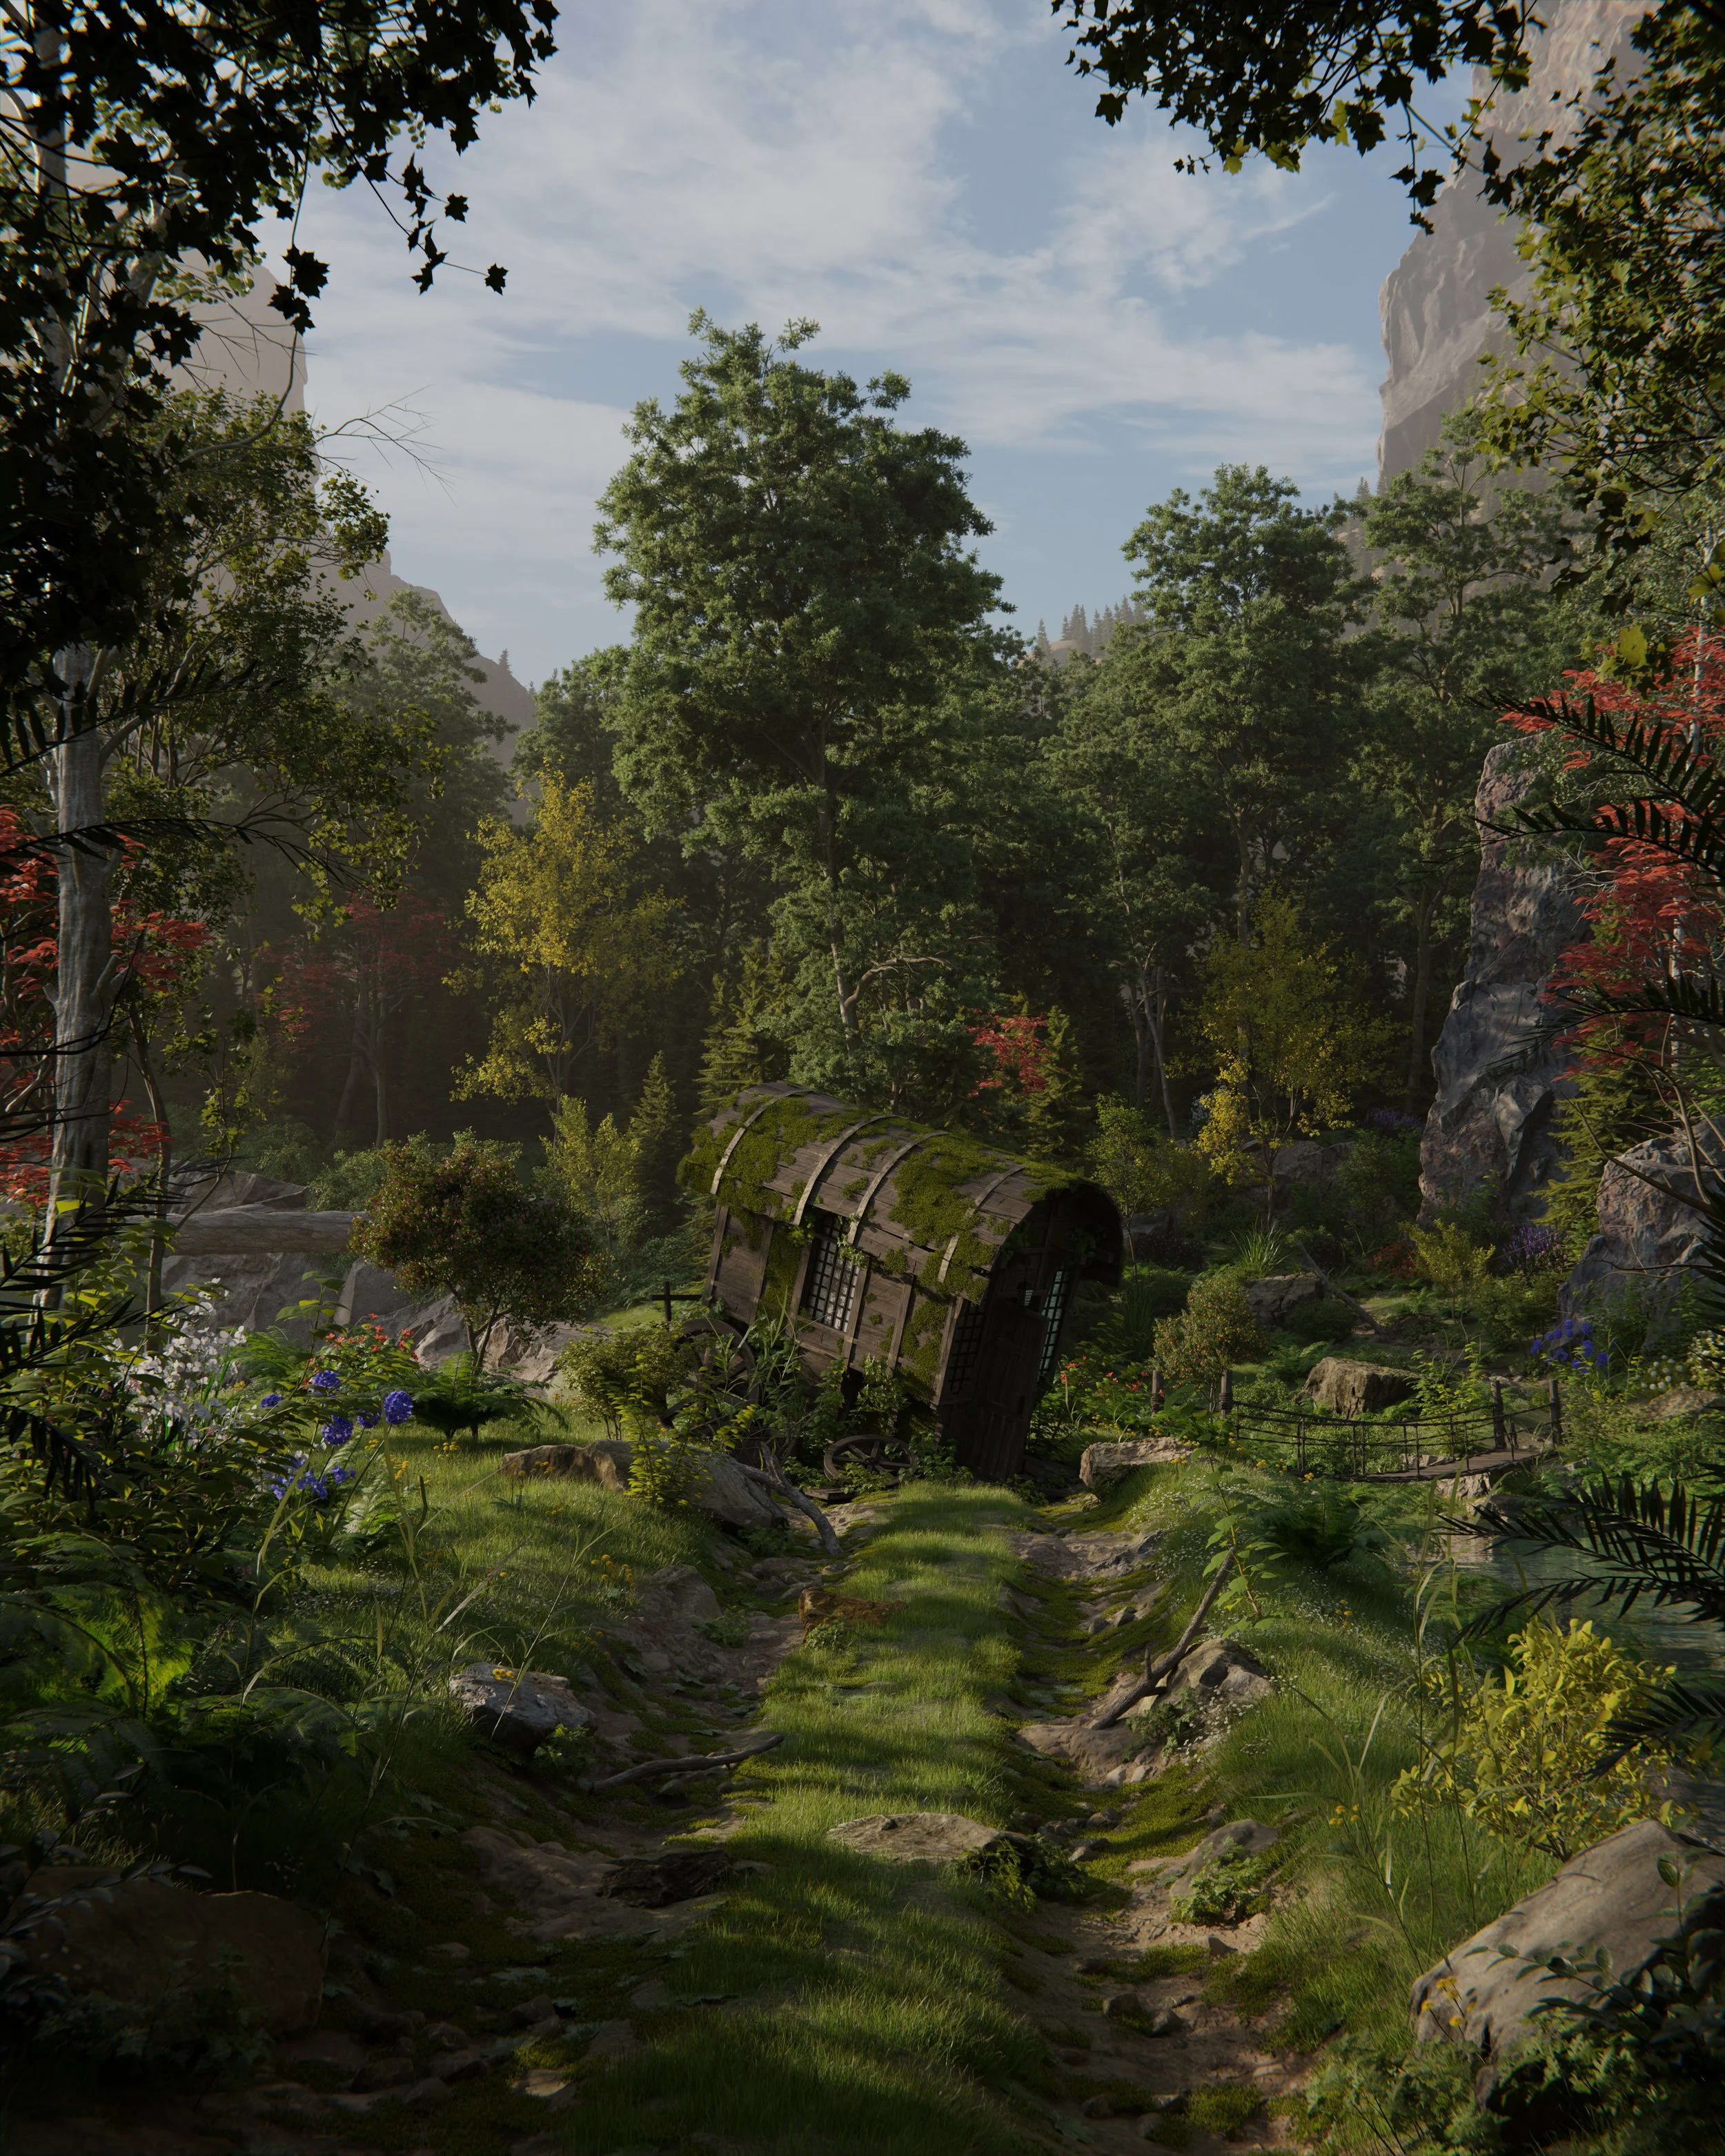
Chapter 7 - Final Details
This is where we begin finalizing the image and get it ready to render. Here I show you my main lighting techniques, creating controlled shadows to enhance the lighting, and polishing up all final details throughout the scene.
-
Chapter 8 - Finishing up the Render
The last part of the process! We go over render setting, rendering, and post processing the image in photoshop to make it look final and how we want.
Here is everything you’ll get:
Course
The Lost Wagon Course
10+ hours of step by step real-time guidance covering my entire workflow from start to finish.
This comes with project files for every section, so if you get stuck or want to analyze exactly how they are set up, you are free to do so.
This course is focused on scene building and teaches everything you need to know about environment creation, there is no modeling involved for this course.
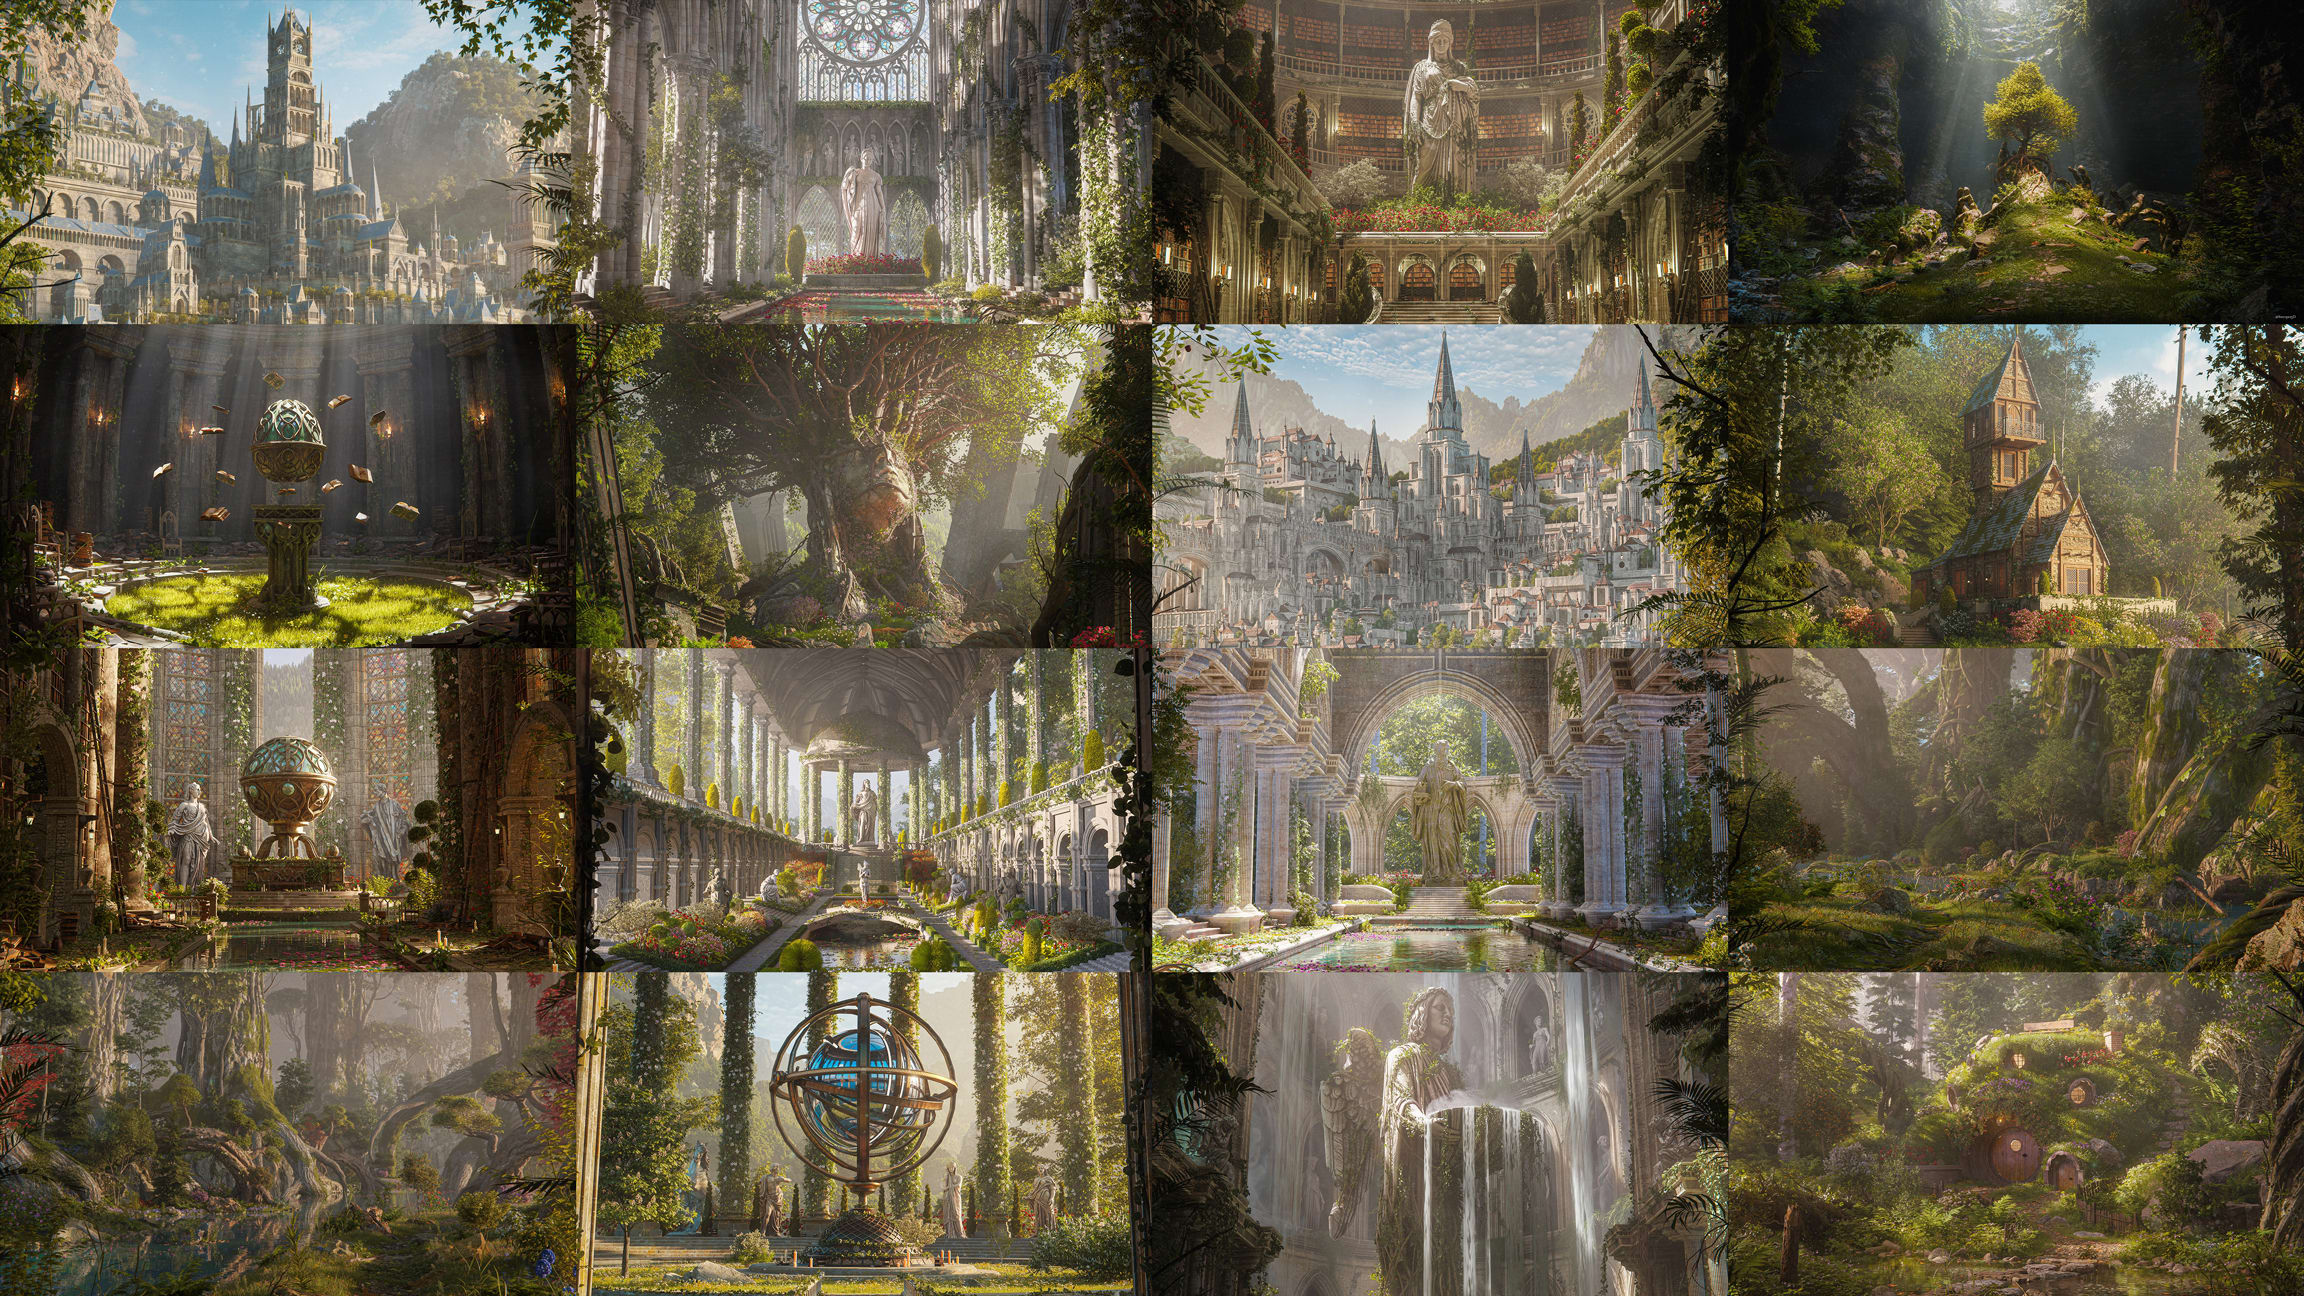
Included Assets
This course comes with hundreds of assets for you to use for your own work.

The Max Hay Collab Pack
Max Hay and I spent weeks modelling this huge pack of fantasy 3D models. We use this stuff all the time in our own work and we're excited to finally get this pack out there. There's a ton of assets in here to help you create insane renders quickly and easily.
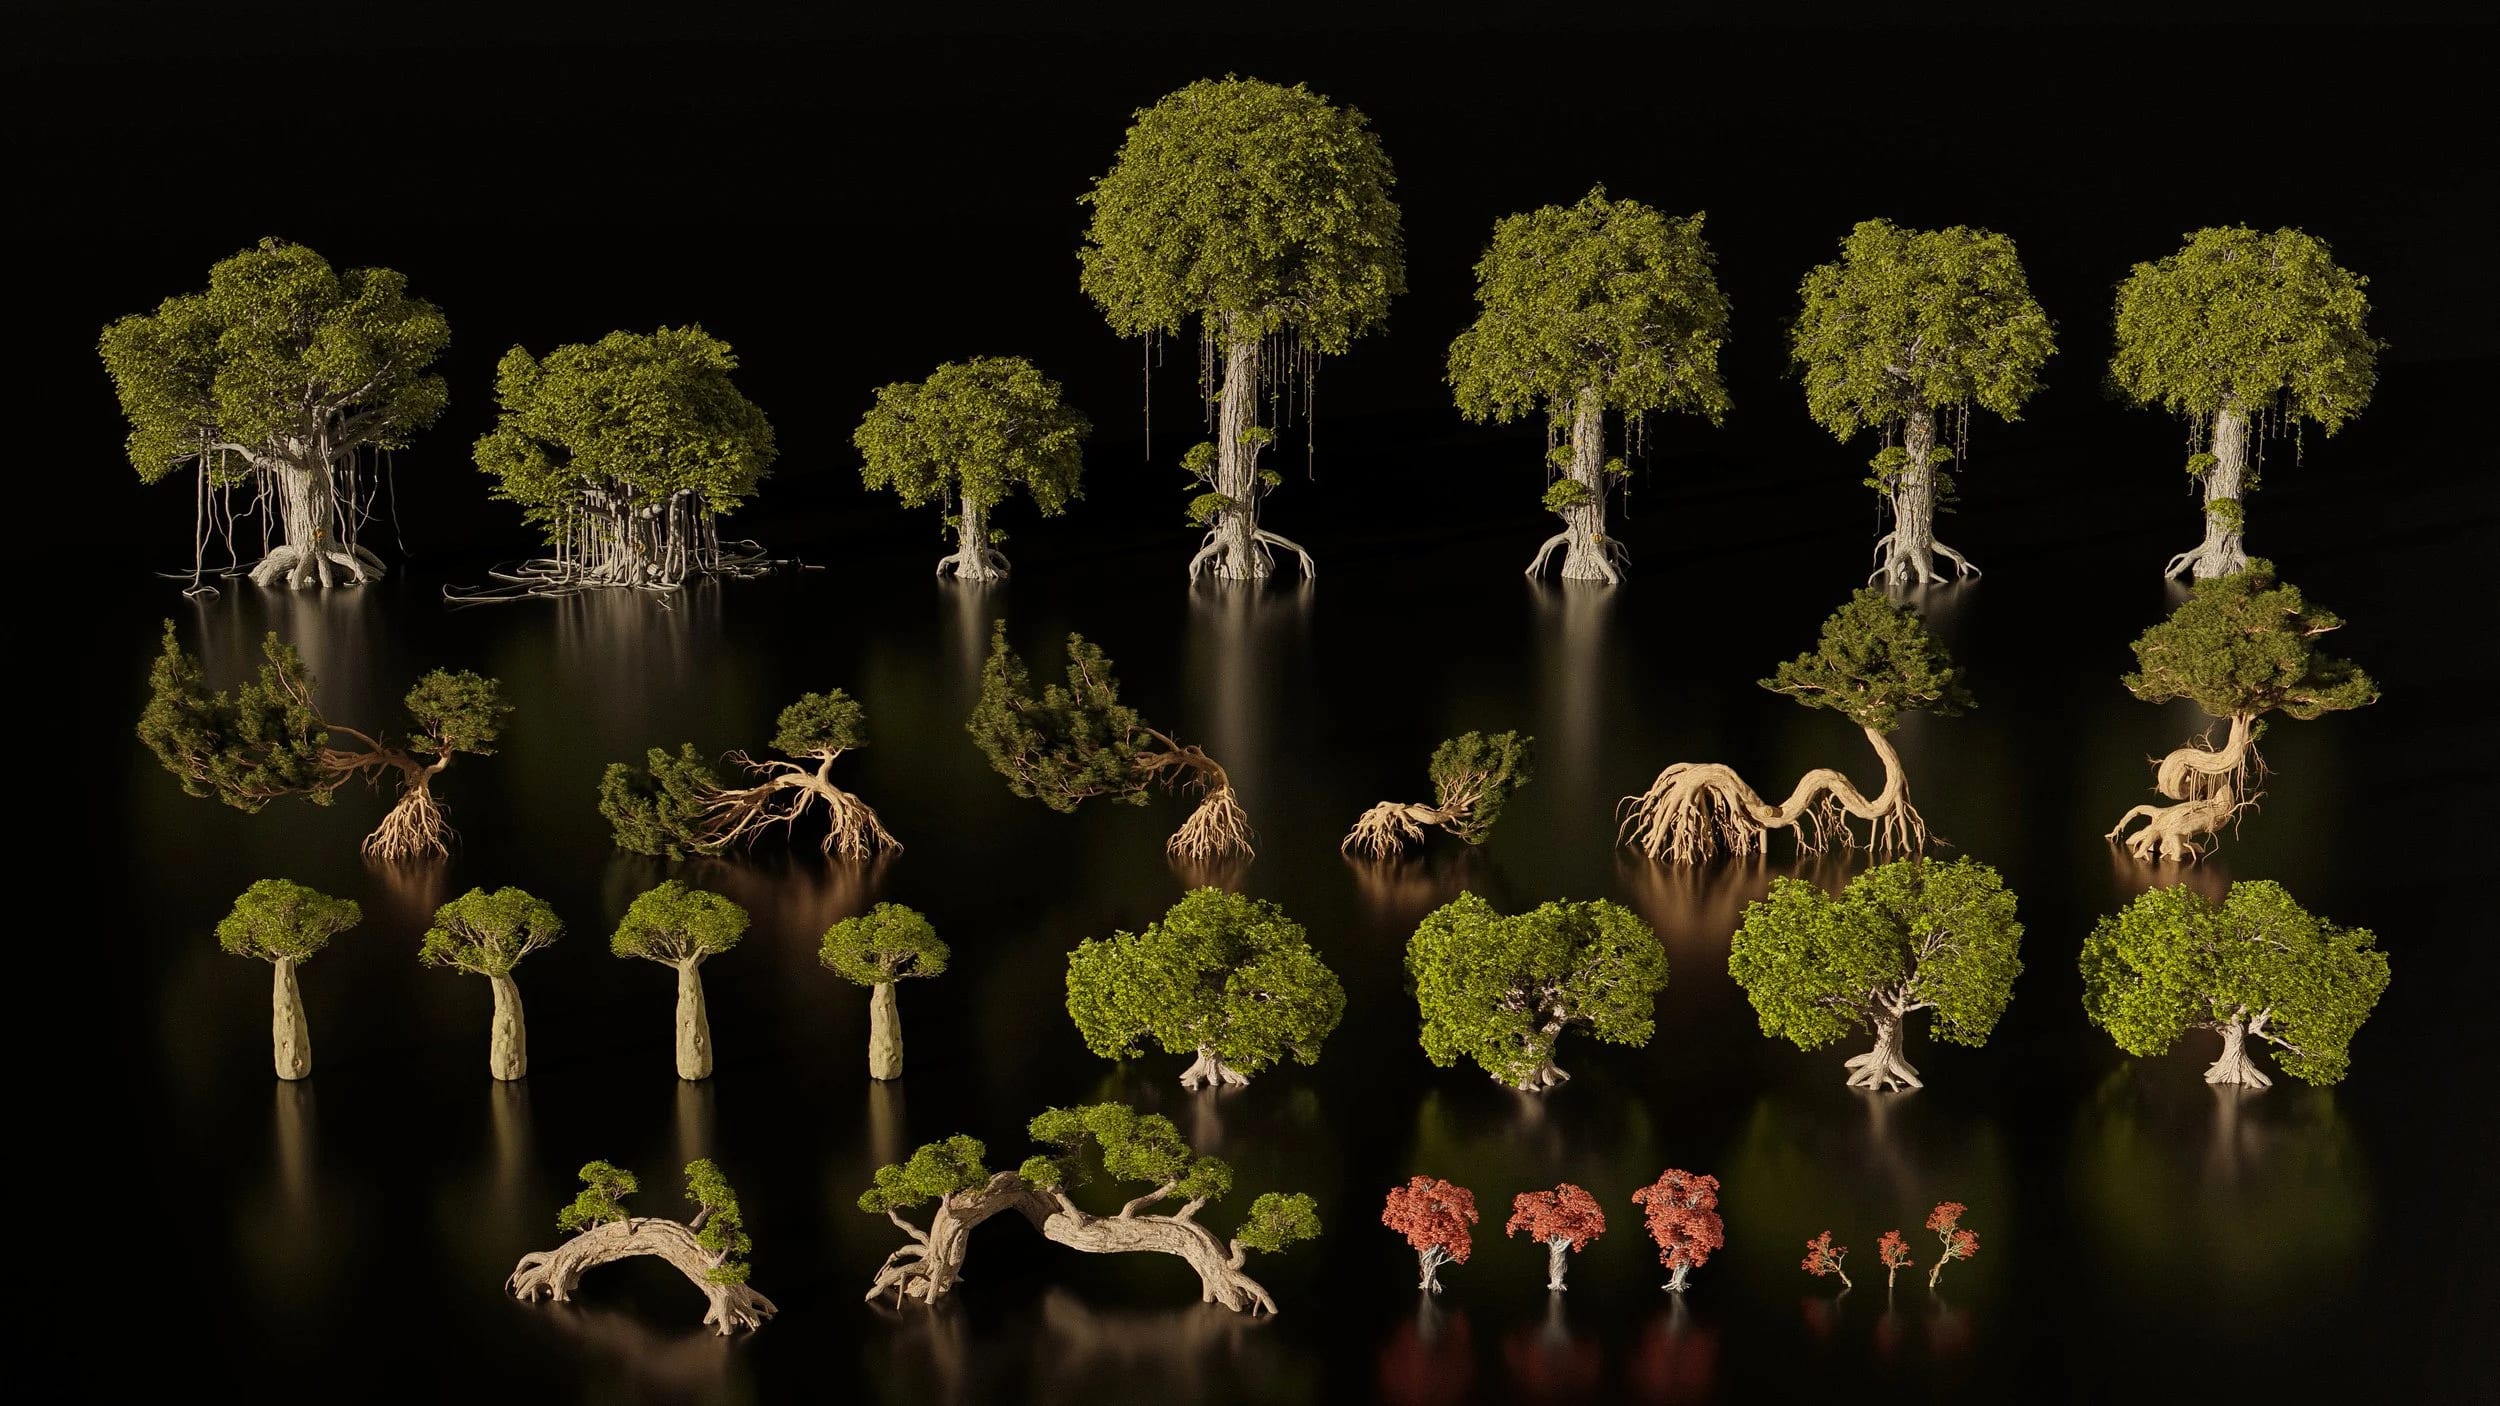
Bonus Fantasy Tree Asset Pack
So I am really excited about this one, there are many assets in this one that I am going to be using in many of my future projects and I cant wait to share them with you!
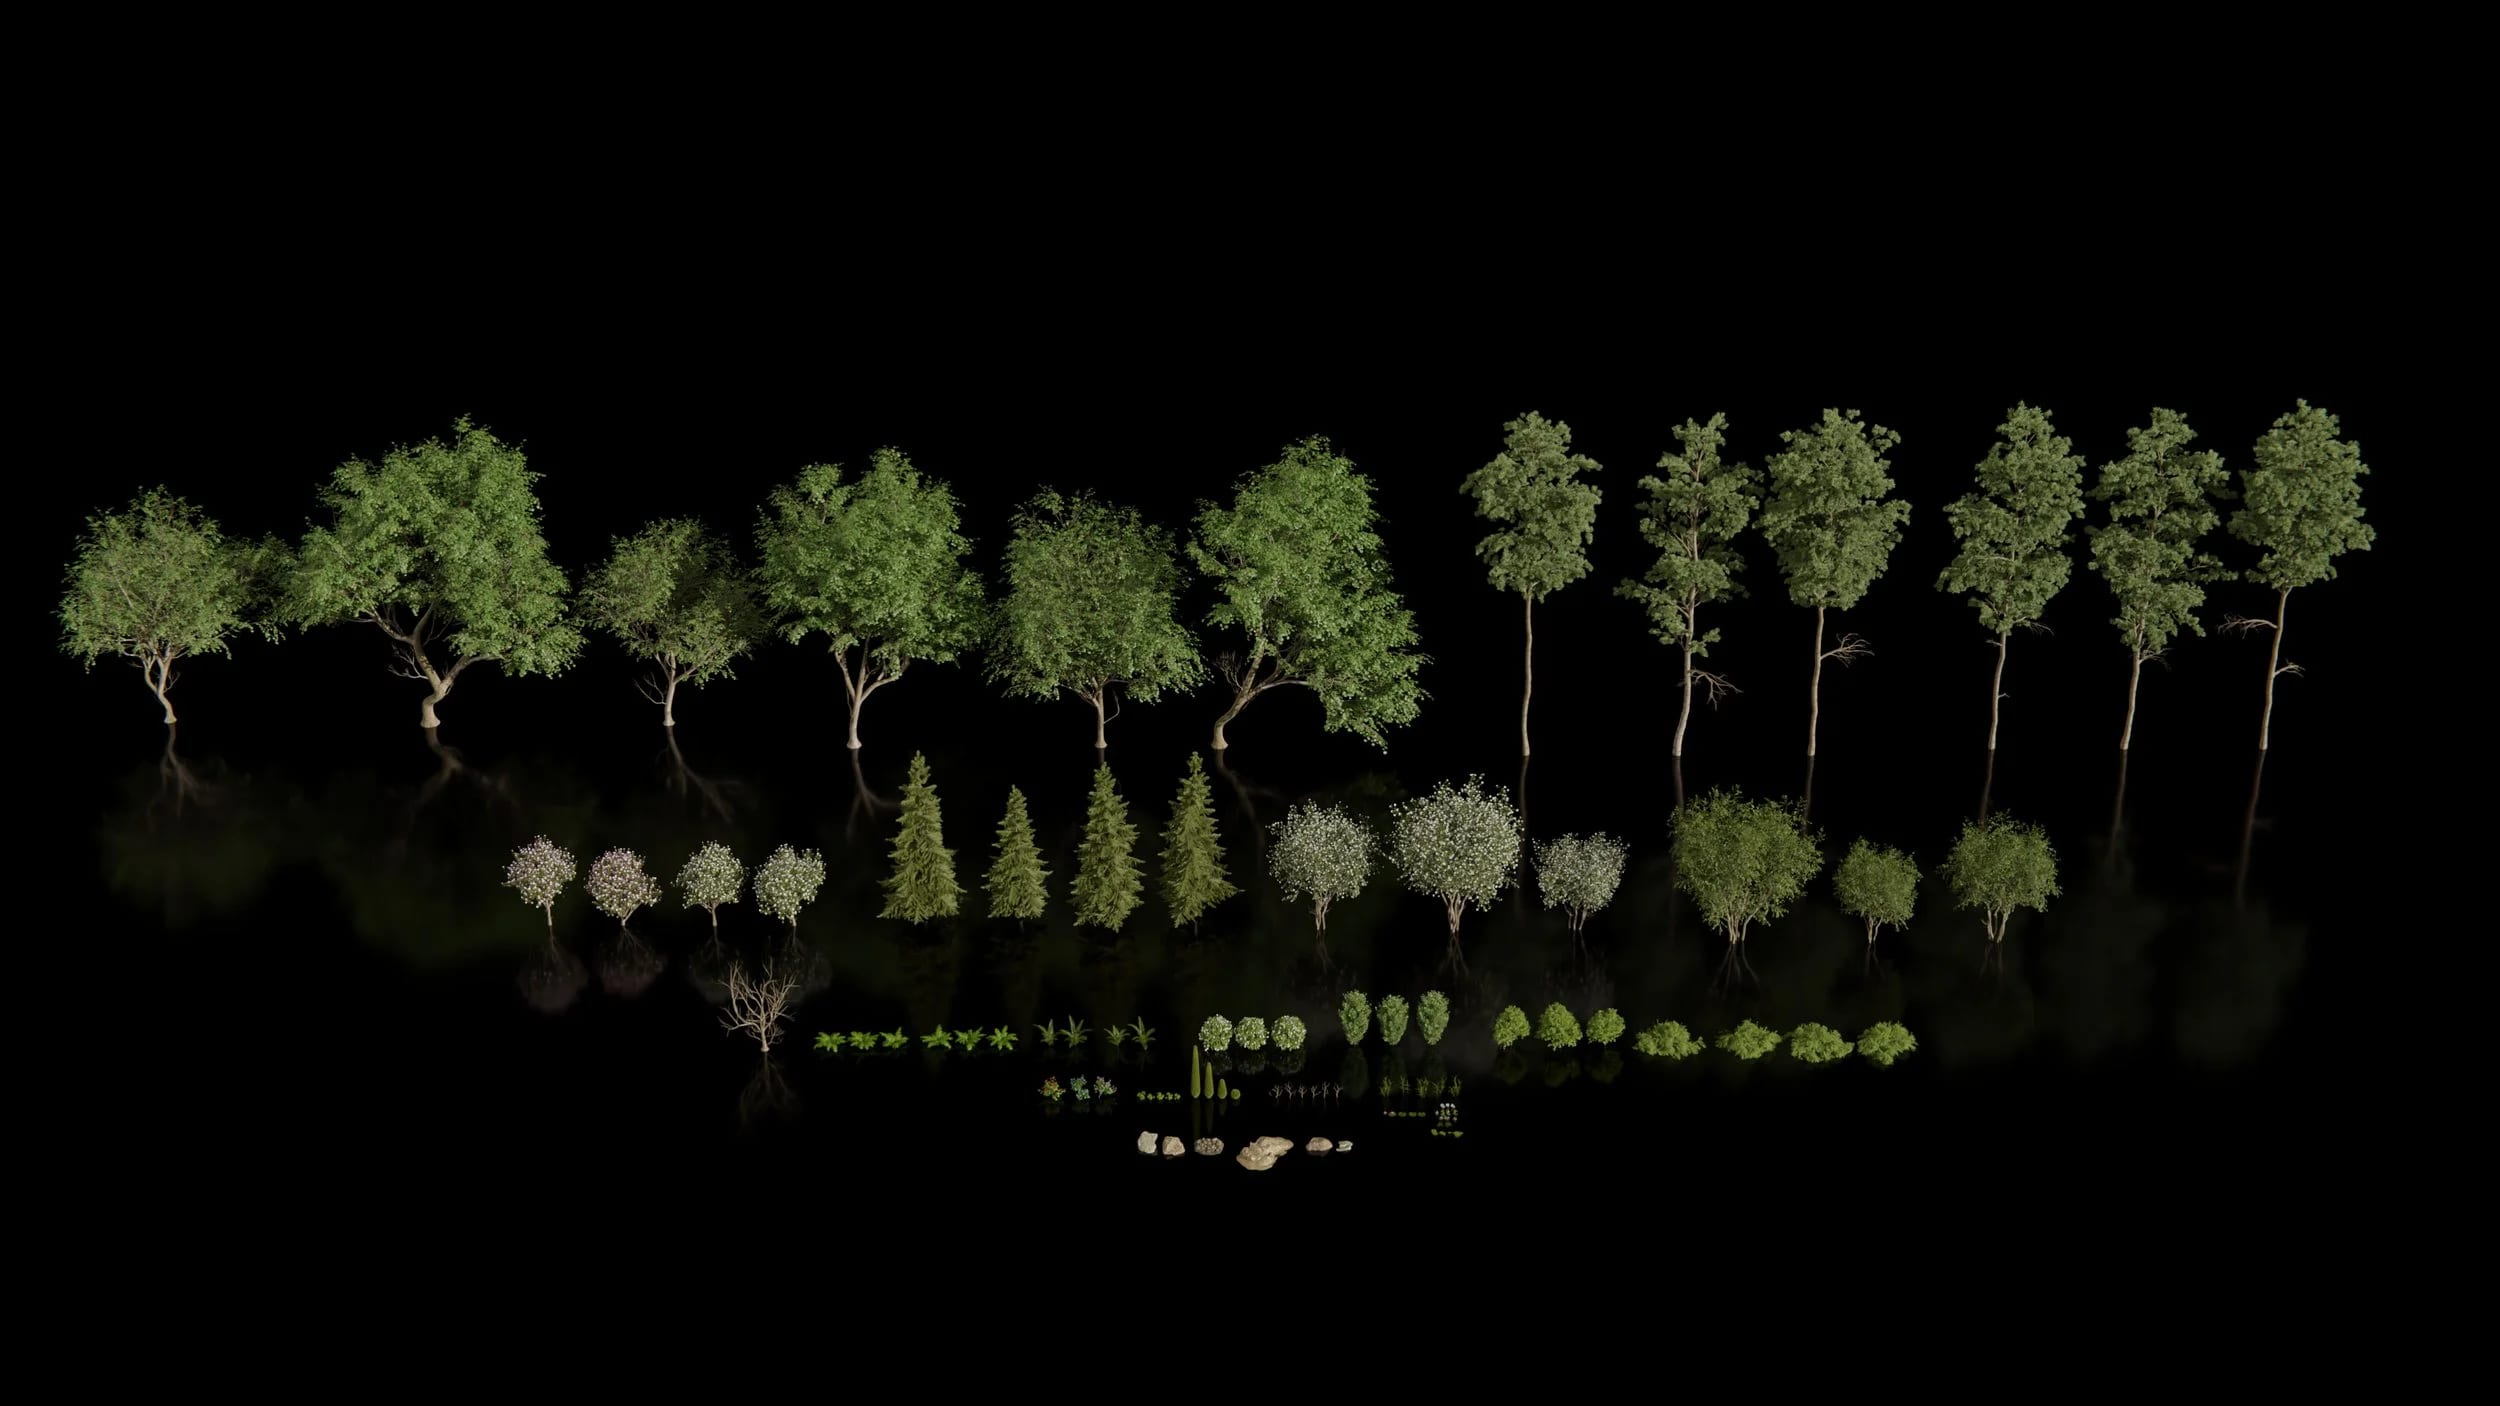
Great Root Giant Pack
The Great Root Giant pack covers a lot in terms of nature assets, from trees, to shrubs and ferns, to ground scatters and even the Great root Giant fantasy tree model. Many of the assets we use in this course are from this pack.
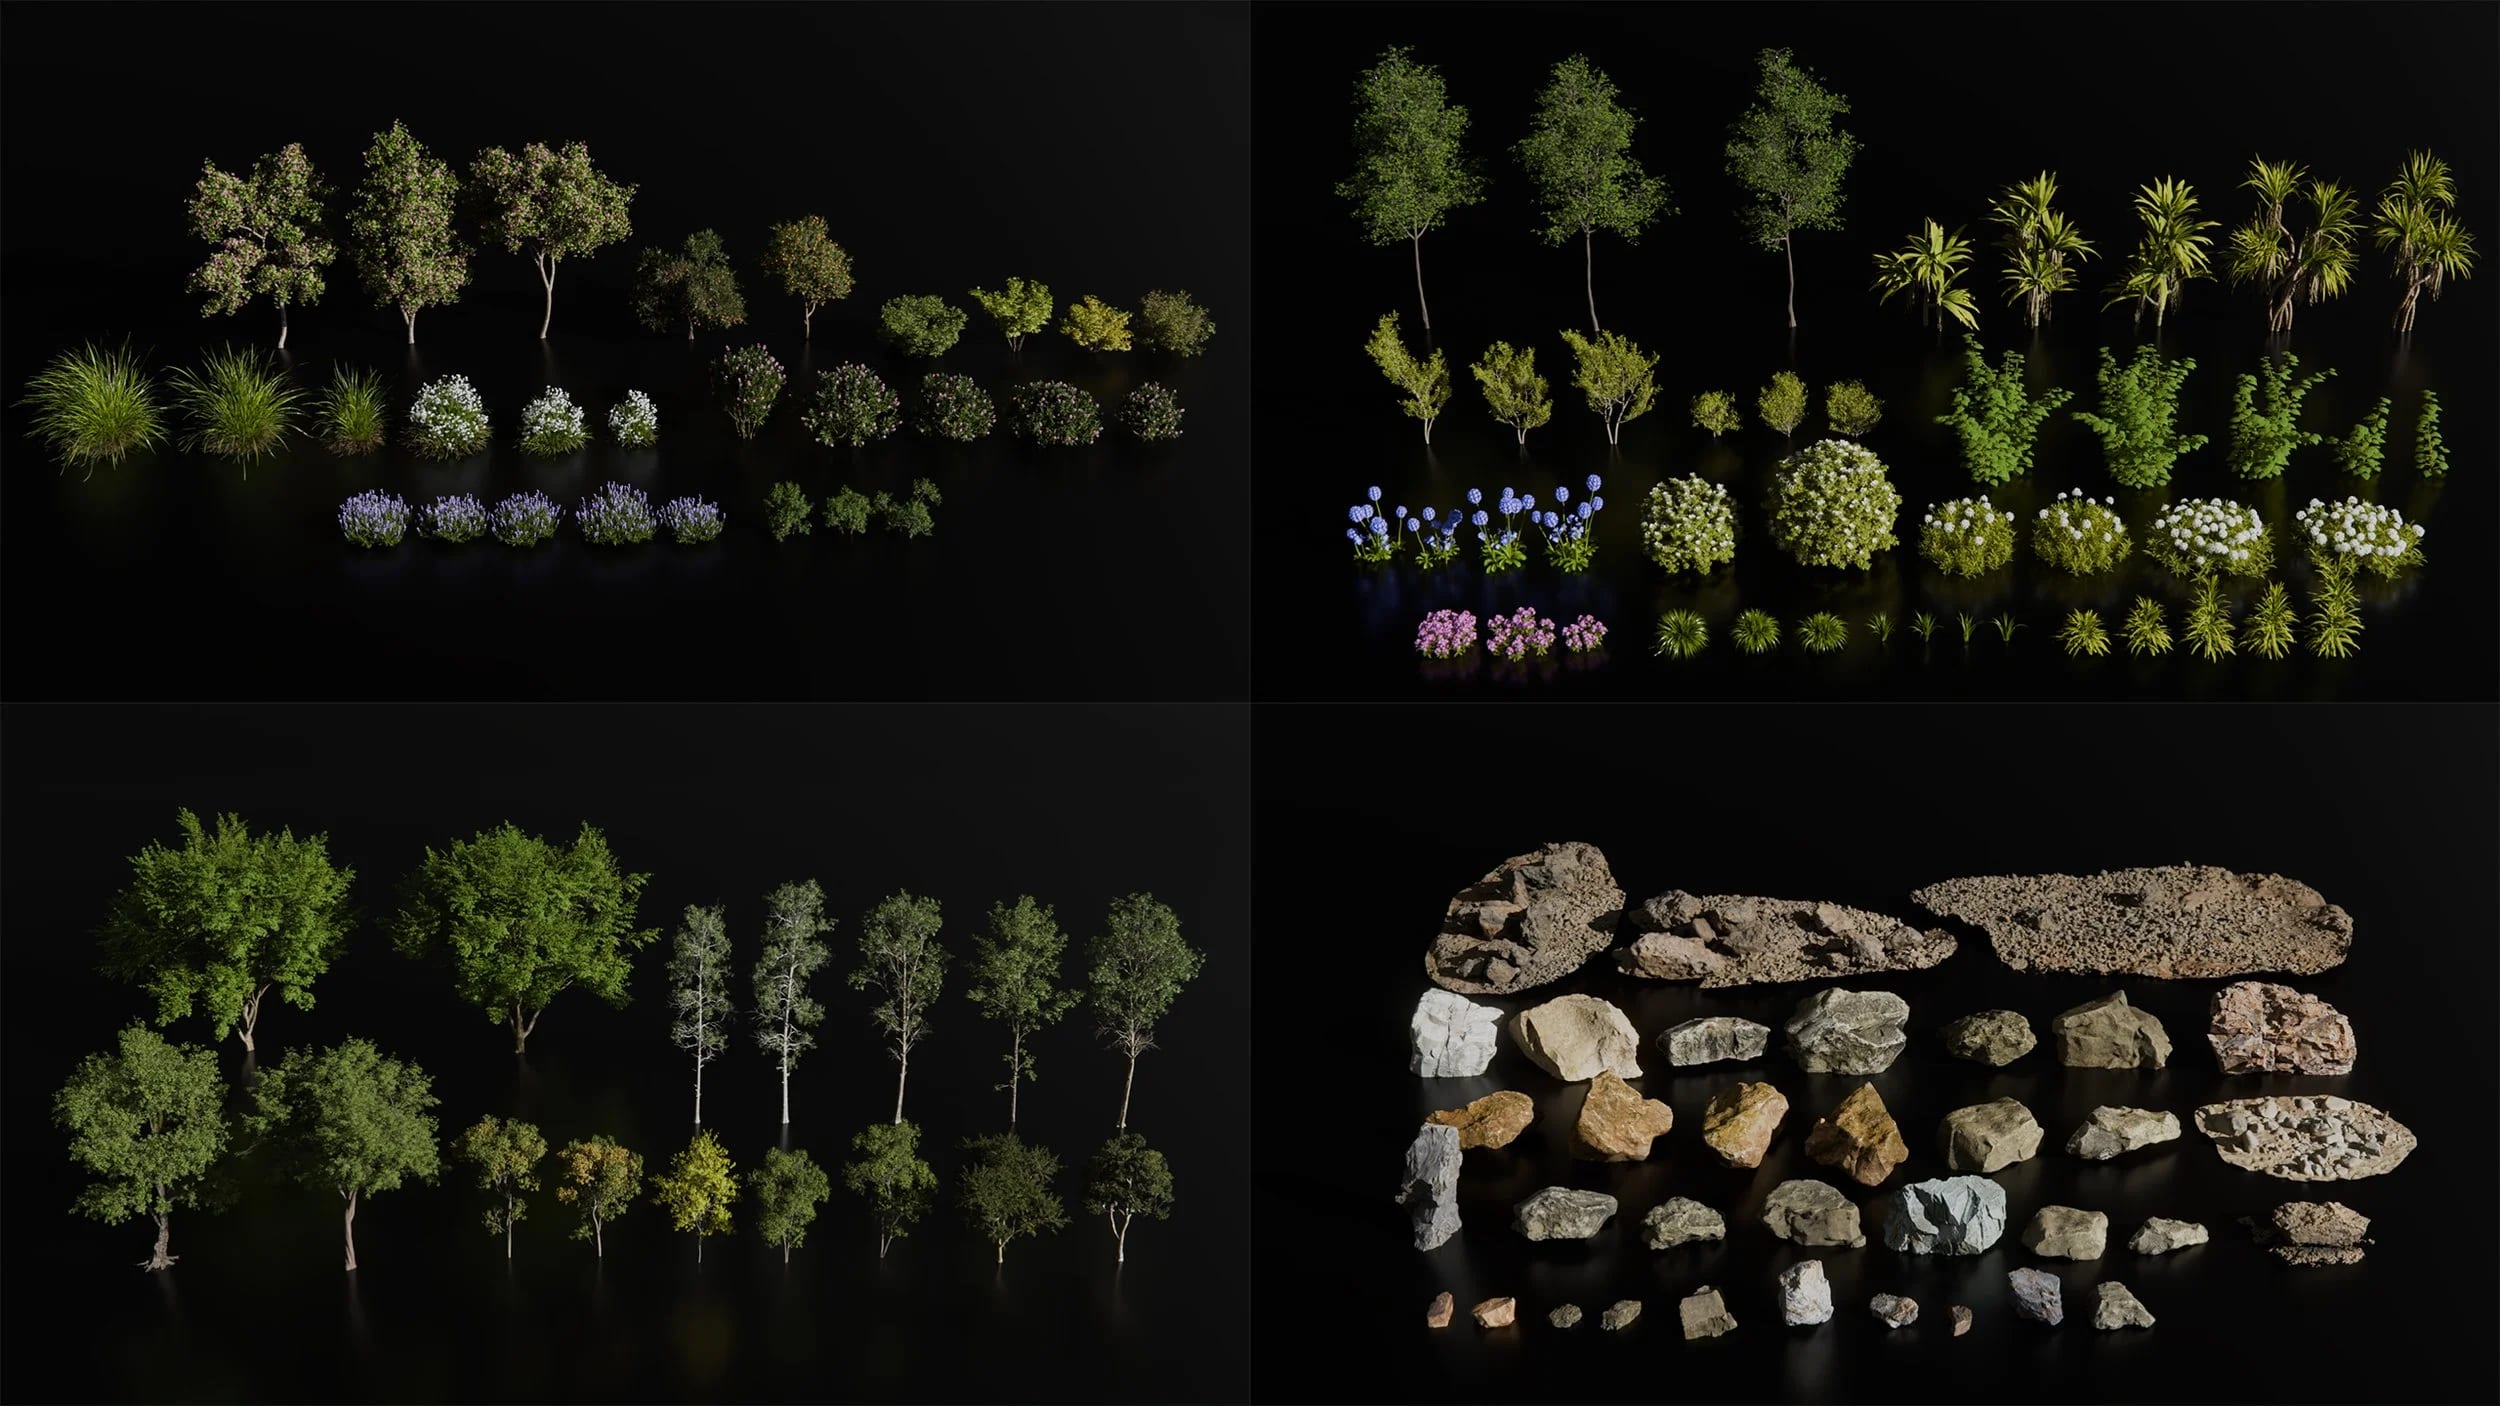
Nature Asset Packs
I have included lots of other nature assets as well that I use in my projects all the time for you to use
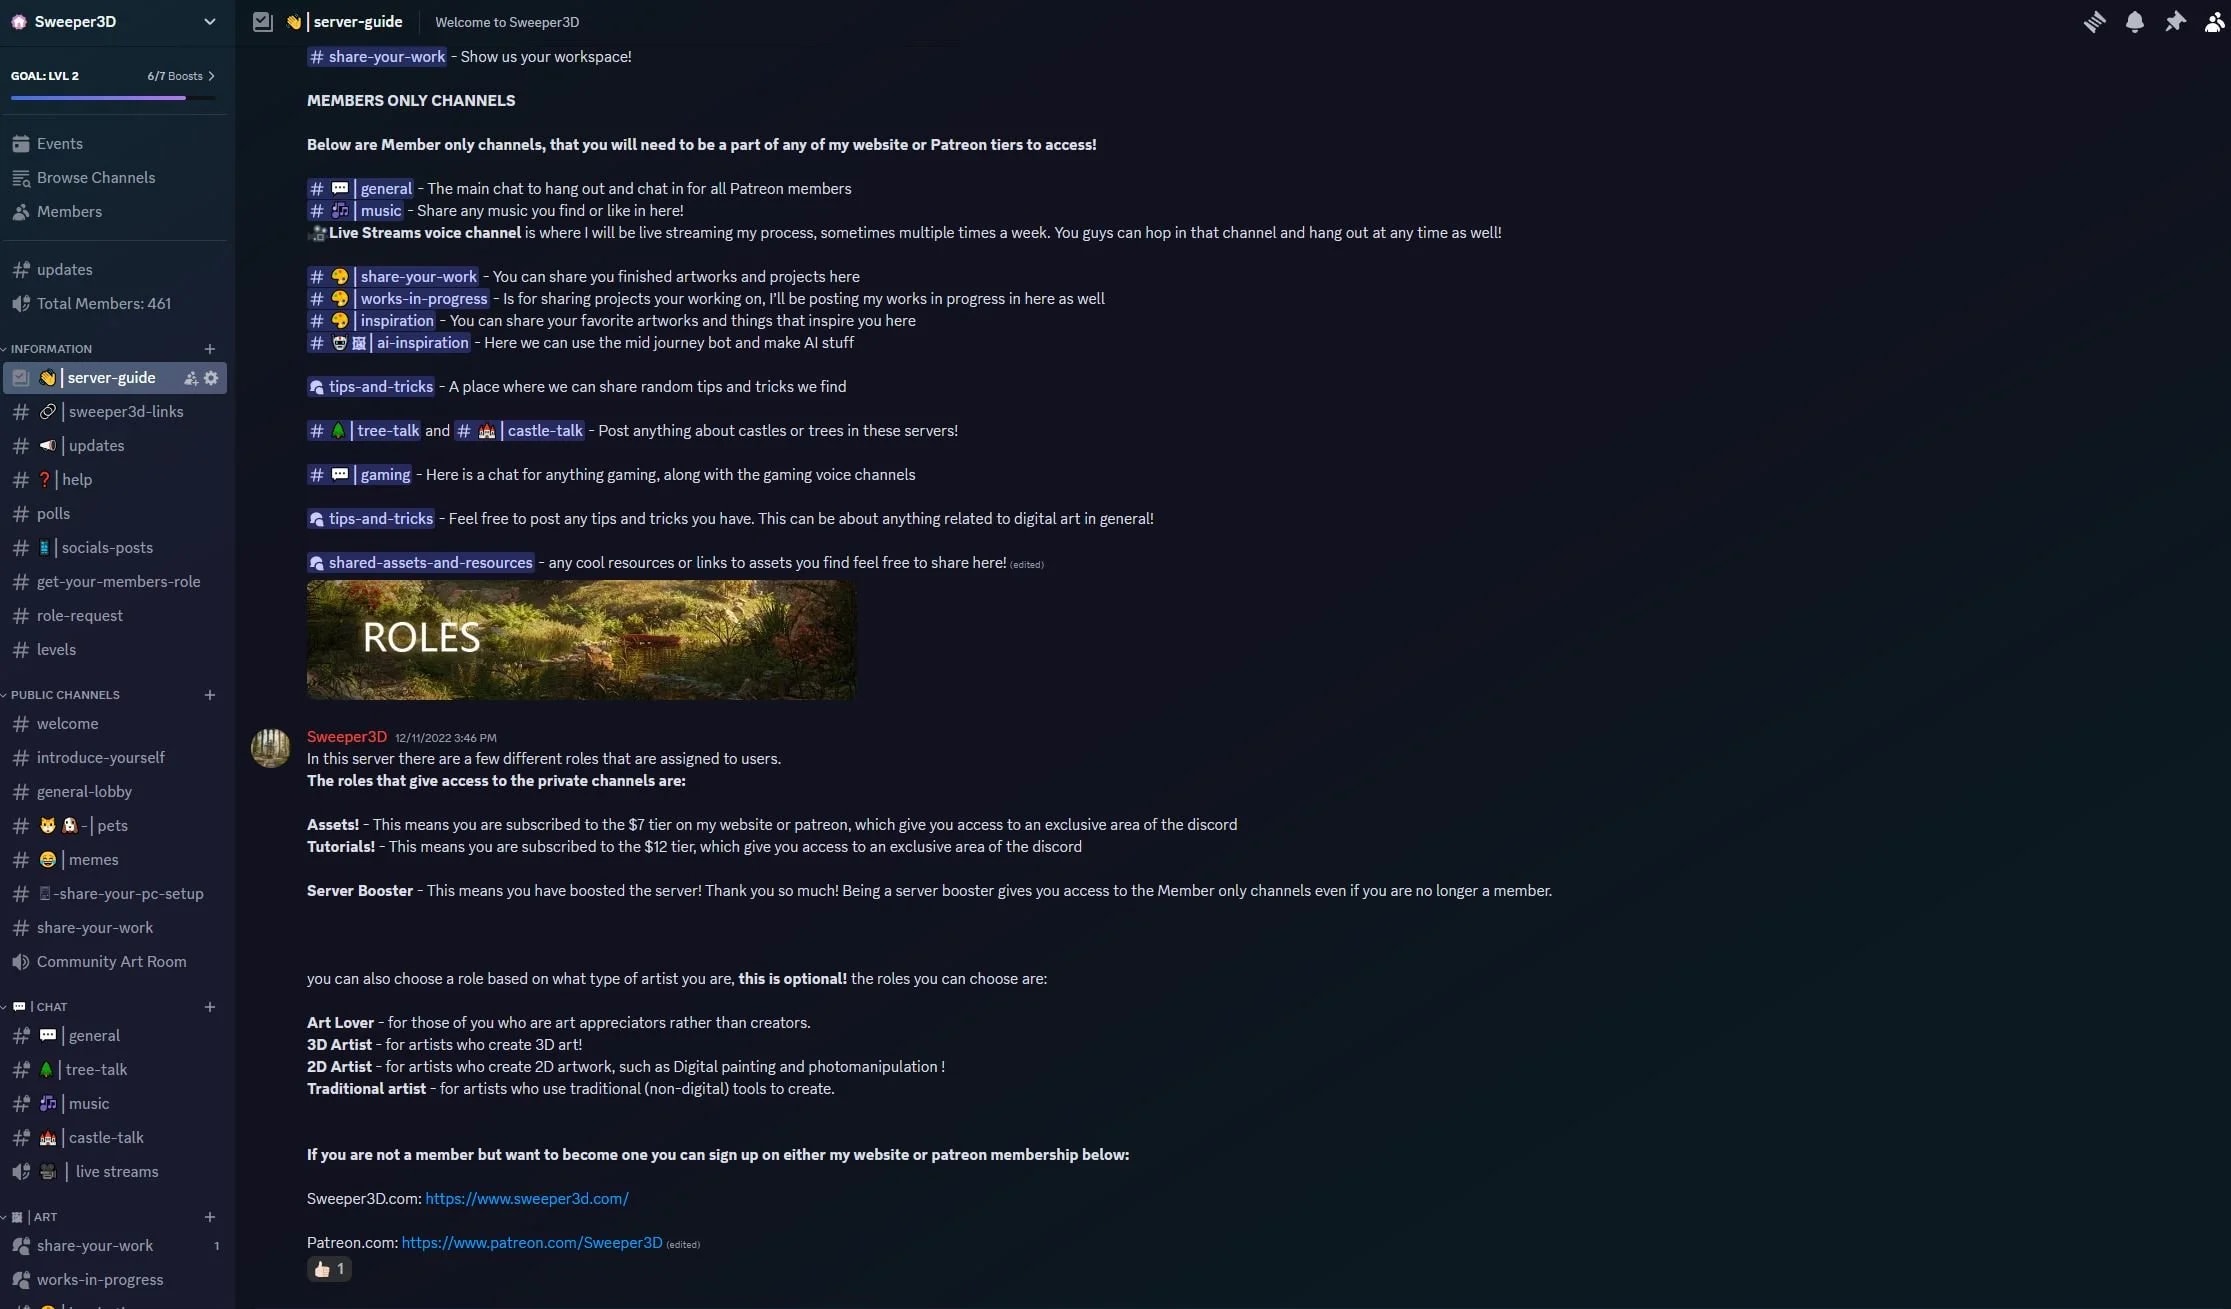
Access to my private discord community
Access my private discord community and connect with hundreds of other artists on the same path. Share WIPs, get feedback, ask questions, and hang out with people who are just as obsessed with 3D environments as you are..
One free month of a Sweeper3D membership
You will be given a discount code to access my membership completely FREE for an entire month.
This will grant you access to all content on my site such as:
- In depth tutorials (65+)
- Over 100+ full process videos of all of my renders
- Assets and project files
“I became a member when I was first getting into art, Being a member has been a game-changer for my art. It propelled me from simply grappling with the basics, to actualizing my ideas in ways I never thought possible. The wealth of knowledge, and tips and tricks I’ve learned since joining is huge!"
"I've always admired Sweeper's work, it's thanks to him that I switched from Cinema 4D to Blender a few weeks ago and I'm not going back. I've always been afraid of making animations, especially with post-production. Thanks to Sweeper, I've finally got an efficient workflow with top results!"
"Sweeper3D’s work has always captivated my mind and I’ve always wanted to learn how he did it that’s why I joined. His videos have helped me fine-tune my workflow and deepened my understanding of how large nature scenes are made."
Money-Back Guarantee
If you are not satisfied with this course for any reason, I offer a 30-day money-back guarantee. Simply contact me within 30 days of your purchase, and I will refund your payment in full, no questions asked.
Course FAQ
- What software do I need to follow along with the course?
- This course uses Blender for most of this course, with a little bit of Photoshop to post process the final render.
- How difficult is this course?
- This course is meant for someone that knows the basics of blender. I try my best to make it as beginner friendly as possible though and cover as many of the essentials throughout this course. I am always happy to help as well if you get stuck or need help with a section!
- What's your refund policy?
-
You can get a full refund within 30 days if you don’t like this course.
You will not be permitted to use any of the downloadable assets unless you re purchase the course. - What Blender add-ons do you use in this course?
- The only add-on used in this course is Gscatter for the scattering. This is a free add on that is really great for scattering. You can use any other method for scattering as well if you prefer other methods. everything else is blender native.
- Can I go at my own pace?
- Yes. The course is a series of pre recorded videos, so you can go through at whatever speed you like and revisit it at any time.
- Will my PC be able to handle this course?
- The Final project file on my system sits at around 11.0 -12.5GB vram usage. You can use optimization methods like simplify and others I mention in the course to cut that in half if needed.